
Introduction
A headboard is one of the most impactful elements in a bedroom, and building your own DIY headboard is an excellent way to express your creativity while enhancing the look of your space. Whether you prefer a rustic wood design or a luxurious upholstered style, crafting a headboard yourself allows for personalization and budget-friendly customization. In this guide, we’ll explore creative ideas and step-by-step instructions on how to build a unique DIY headboard that will transform your bedroom.
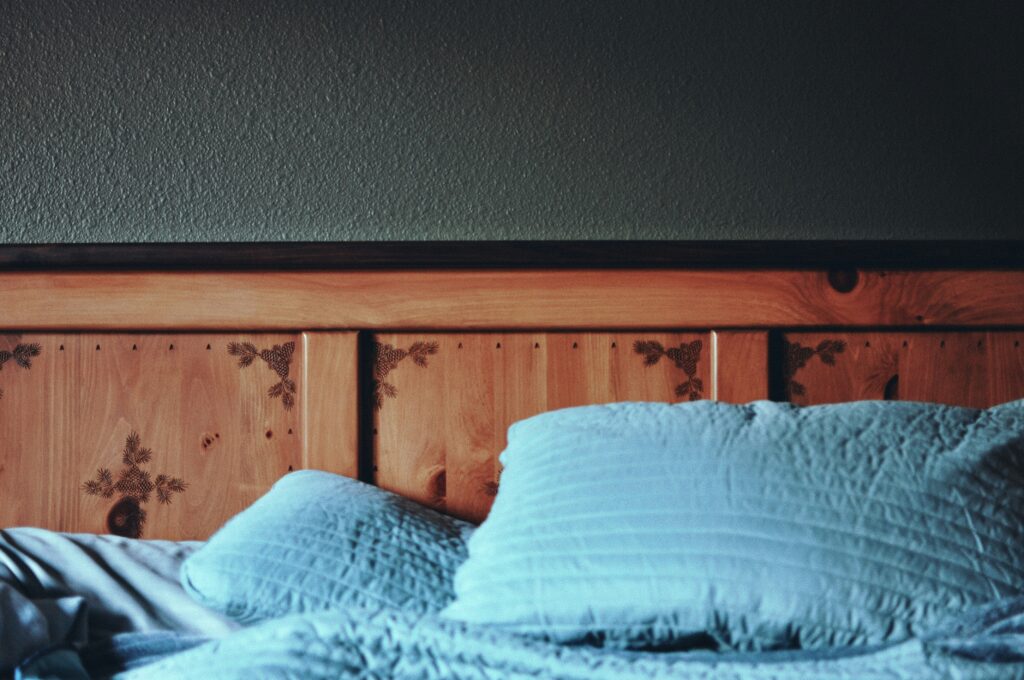
1. Rustic Wooden Headboard
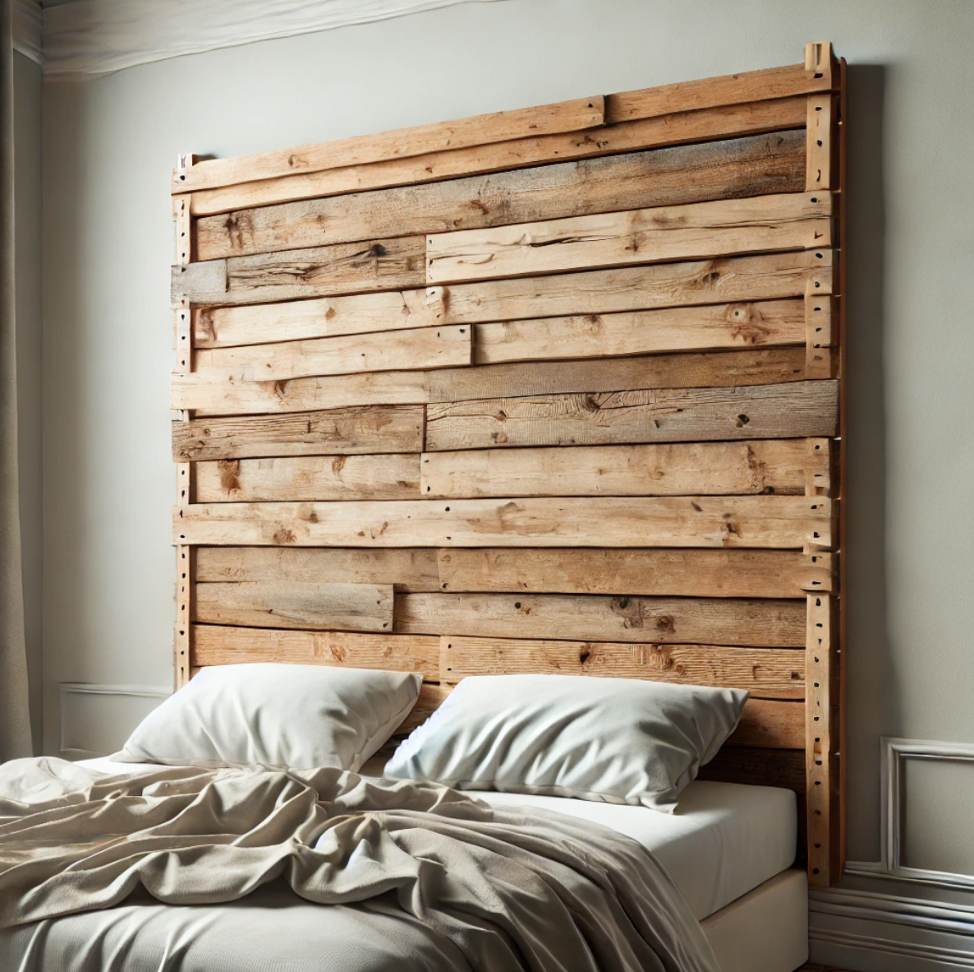
A rustic wooden headboard brings warmth and character to any bedroom. This project is perfect for DIY enthusiasts who love working with wood and natural materials.
Materials Needed:
- Wooden planks (pallet wood, reclaimed wood, or pine)
- Sandpaper
- Stain or paint
- Wood screws
- Drill and screwdriver
Steps:
- Measure the width of your bed to determine the size of the headboard.
- Sand the wooden planks to remove rough edges and prepare them for staining or painting.
- Arrange the planks horizontally or vertically, depending on your preferred style.
- Secure the planks together using wood screws.
- Stain or paint the headboard for a finished look, then attach it to the wall or directly to your bed frame.
Pro Tip: Add hooks or small shelves to the headboard for extra functionality.
2. Upholstered Headboard with Tufting
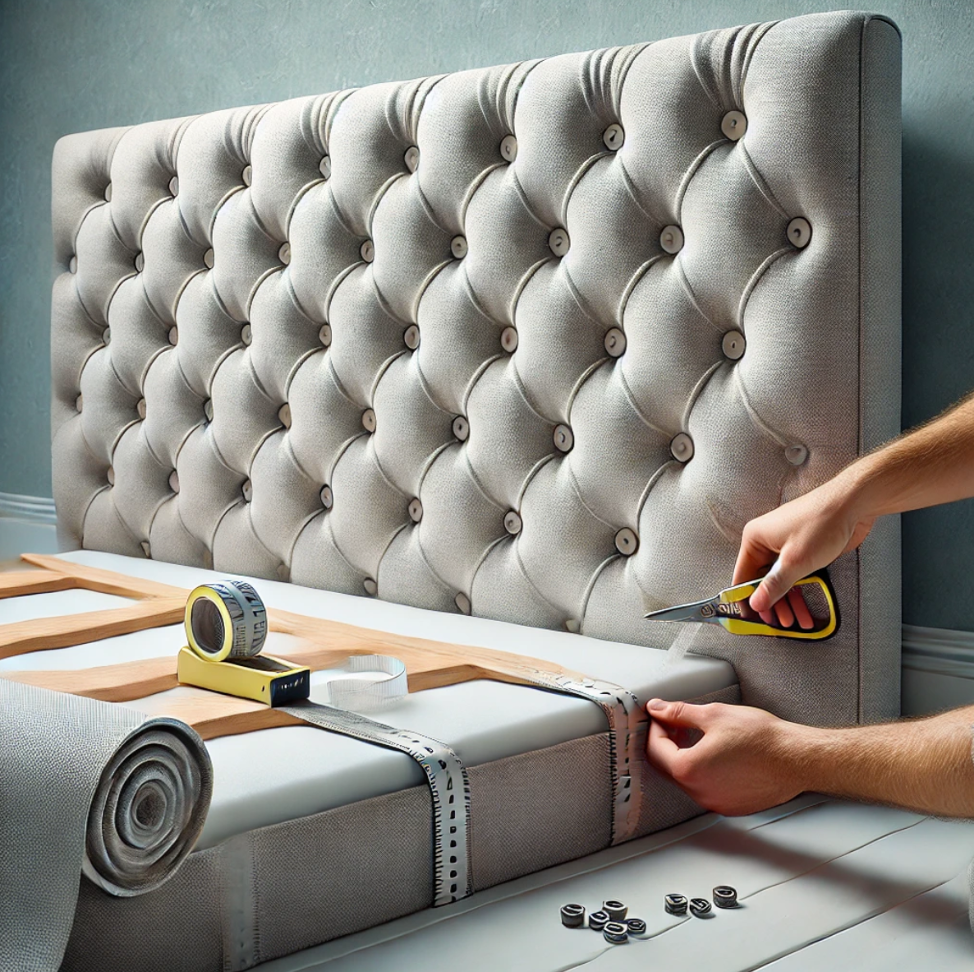
An upholstered headboard with tufting offers a luxurious and cozy touch to your bedroom. This project is ideal for those who want to add a soft, elegant backdrop to their bed.
Materials Needed:
- Plywood or MDF board (cut to the size of your bed)
- Foam padding
- Batting
- Upholstery fabric
- Button kit (for tufting)
- Staple gun and staples
Steps:
- Cut your plywood or MDF board to the width of your bed and the desired height of your headboard.
- Attach foam padding to the board using spray adhesive, ensuring the entire surface is covered.
- Cover the foam with batting, pulling it tightly and stapling it to the back of the board.
- Lay your fabric over the batting and attach it with staples, ensuring there are no wrinkles.
- Create tufts by sewing buttons through the fabric, foam, and board, securing them at the back.
- Attach the headboard to your bed frame or mount it to the wall.
Pro Tip: Choose a rich fabric like velvet for a high-end look.
3. Shiplap Headboard for a Modern Farmhouse Look
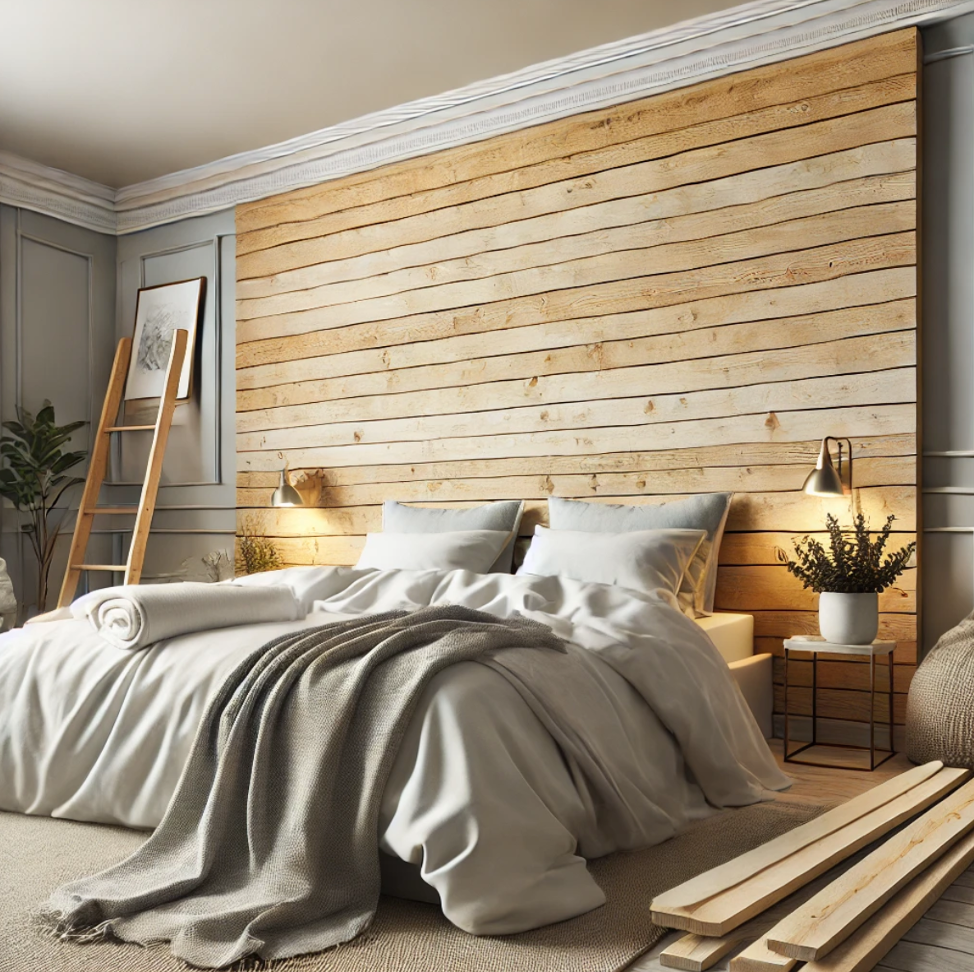
If you love the modern farmhouse style, a shiplap headboard is a great DIY option. This simple and clean design can completely transform your bedroom, giving it a rustic yet modern feel.
Materials Needed:
- Shiplap boards or tongue-and-groove boards
- Wood glue or construction adhesive
- Nail gun or hammer and nails
- Paint or stain
- Level and measuring tape
Steps:
- Measure the area behind your bed to determine the size of the headboard.
- Cut the shiplap boards to the required length.
- Attach the boards to the wall using wood glue and nails, starting from the bottom and working upwards.
- Once all the boards are in place, paint or stain the headboard to match your room’s decor.
Pro Tip: Add a crown molding at the top of the headboard for a more finished look.
4. Woven Leather Headboard
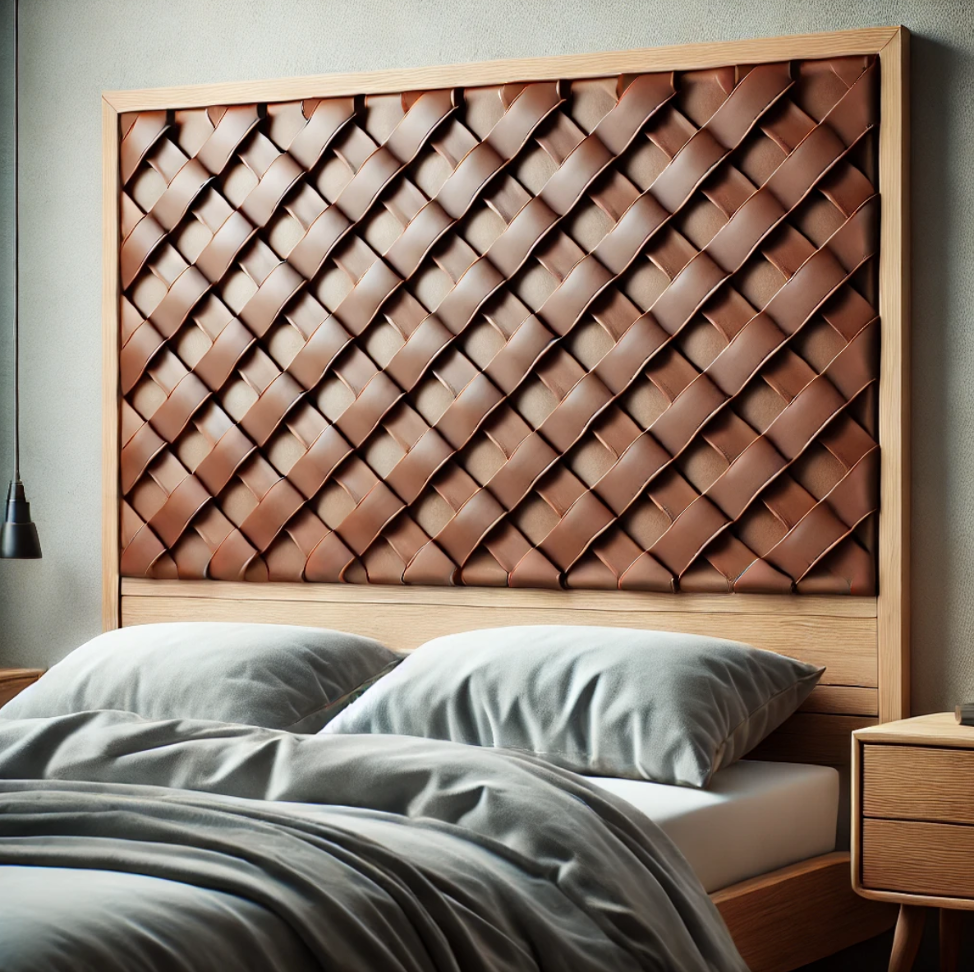
For a unique and modern twist, consider making a woven leather headboard. This bold and stylish design adds texture and visual interest to any bedroom.
Materials Needed:
- Plywood board
- Leather straps (or faux leather)
- Staple gun and staples
- Wood frame (optional)
Steps:
- Cut your plywood board to the size of your bed.
- Attach one end of each leather strap to the back of the board using a staple gun.
- Weave the straps over and under each other horizontally and vertically to create a checkerboard pattern.
- Secure the other ends of the straps to the back of the board.
- If desired, build a simple wooden frame around the edges of the headboard for a finished look.
Pro Tip: Opt for faux leather for a budget-friendly and animal-friendly option.
5. Reclaimed Window Frame Headboard
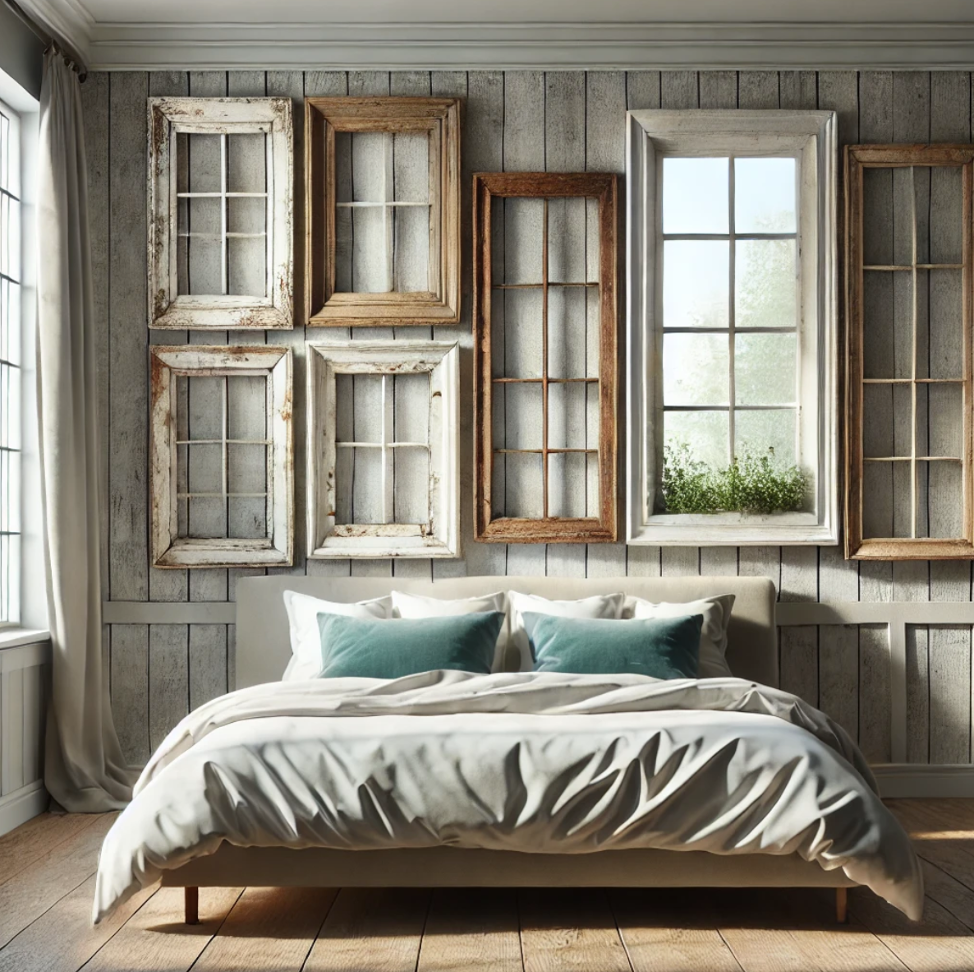
For a truly one-of-a-kind headboard, consider repurposing old window frames. This vintage-inspired idea is perfect for adding charm and character to your bedroom.
Materials Needed:
- Reclaimed window frames
- Sandpaper
- Paint or stain
- Mounting hardware
Steps:
- Find old window frames at a salvage yard or thrift store and clean them thoroughly.
- Sand down any rough edges and decide whether you want to paint or stain the frames.
- Mount the window frames on the wall behind your bed using the appropriate hardware.
Pro Tip: Leave the glass panes in the window frames for a more authentic, vintage look, or remove them for an open and airy feel.
Conclusion
Building a DIY headboard is an excellent way to add a personal touch to your bedroom decor. Whether you prefer a rustic wooden design, an upholstered style, or a modern twist like woven leather, these creative ideas offer endless possibilities to transform your space. With a few simple materials and a bit of effort, you can create a stunning headboard that reflects your unique style and makes your bedroom feel complete.