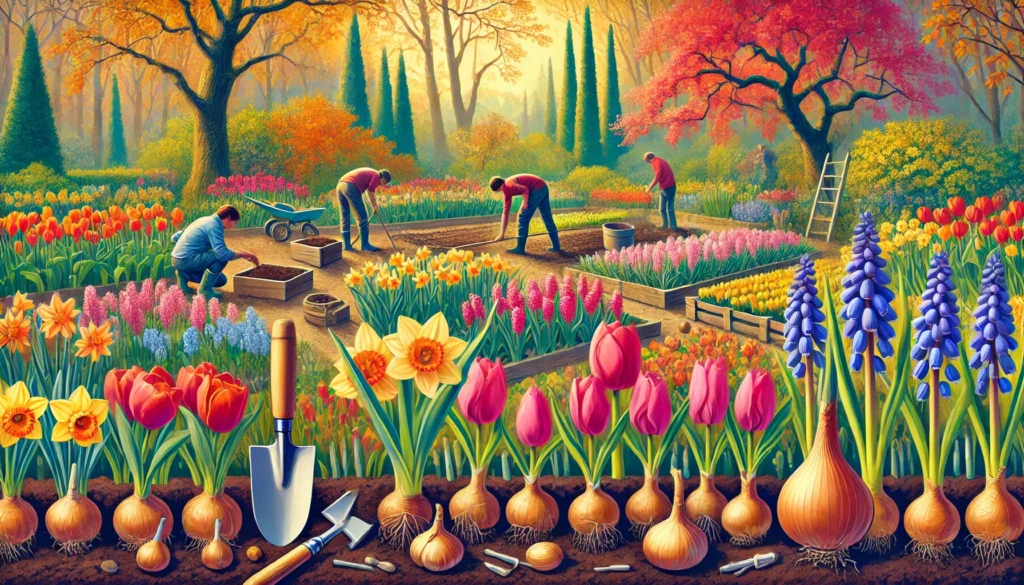
As the crisp air of fall begins to settle in, it’s time to start thinking about the vibrant display of flowers you want to see in your garden come spring. Fall is the ideal time to plant bulbs that will reward you with a burst of color after the winter thaw. Whether you’re a seasoned gardener or a beginner, planting bulbs in the fall is a simple and rewarding way to ensure a beautiful spring garden. This guide, tailored for American gardeners, will walk you through the essential steps for planting bulbs in the fall to achieve a stunning spring bloom.
1. Why Plant Bulbs in the Fall?
Fall planting is crucial for spring-blooming bulbs because these bulbs require a cold period to develop their roots and prepare for the spring growing season. The cooler temperatures of fall help the bulbs establish themselves in the soil before winter, ensuring they have the strength to push through and bloom when the warmer weather arrives.
2. Choosing the Right Bulbs
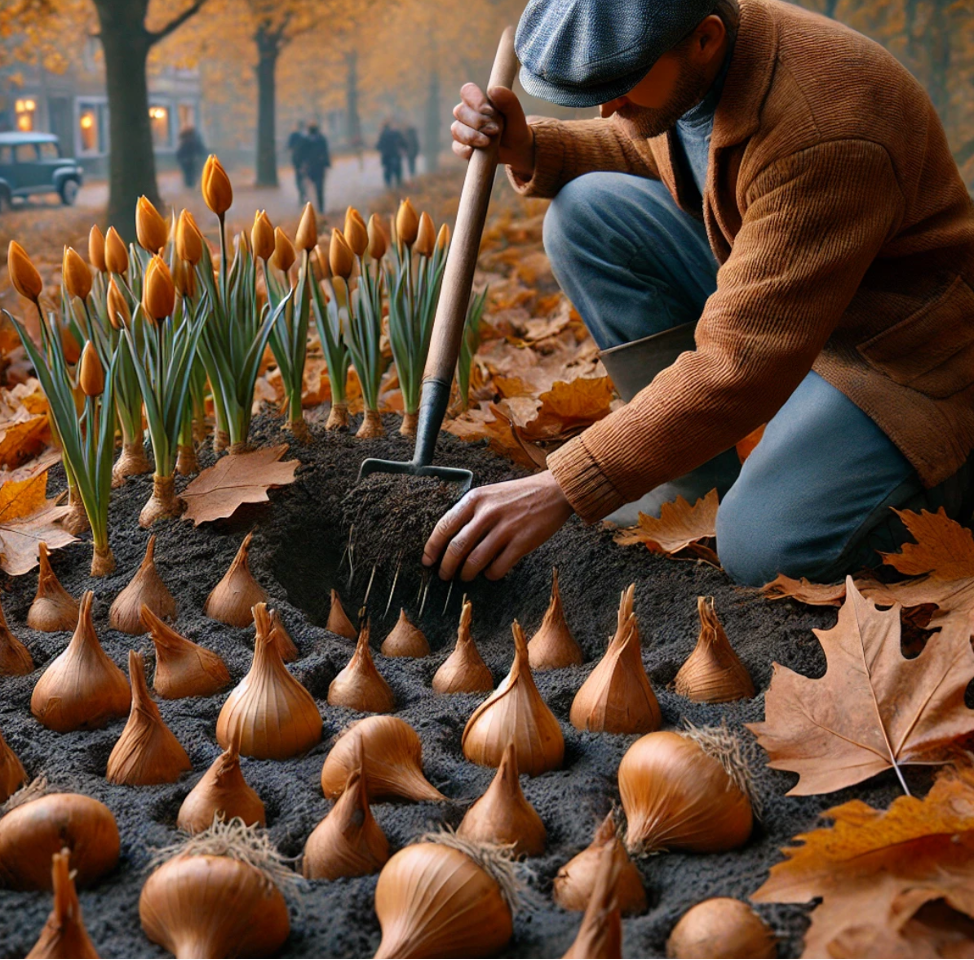
Selecting the right bulbs is the first step to creating a vibrant spring garden. Consider the following popular options for your fall planting:
- Tulips: Tulips are a classic choice for spring gardens, offering a wide range of colors and shapes. They thrive in well-drained soil and full sun.
- Daffodils: Known for their bright yellow blooms, daffodils are hardy and easy to grow. They’re also resistant to deer and other pests.
- Crocuses: These early bloomers are often the first sign of spring, with delicate flowers that emerge even through snow. Crocuses are ideal for naturalizing in lawns and garden beds.
- Hyacinths: With their fragrant, dense flower spikes, hyacinths add both color and scent to your spring garden. They’re perfect for borders and containers.
- Irises: Irises come in various colors and are known for their sword-like leaves and intricate blooms. They do well in both sun and partial shade.
- Alliums: These striking flowers, related to onions and garlic, produce large, globe-shaped blooms that add architectural interest to the garden.
3. Preparing the Soil
Proper soil preparation is key to successful bulb planting. Here’s how to get your garden beds ready:
- Choose the Right Location: Most bulbs prefer well-drained soil and full sun. Select a spot in your garden that meets these requirements.
- Improve Soil Drainage: Bulbs do not like sitting in wet soil, which can cause them to rot. If your soil is heavy or clay-like, consider adding compost, sand, or peat moss to improve drainage.
- Fertilize: Before planting, mix in a slow-release bulb fertilizer or bone meal to give the bulbs the nutrients they need to establish strong roots.
4. Planting Your Bulbs
Timing is crucial when planting bulbs in the fall. Here’s a step-by-step guide:
- Timing: Plant bulbs when the soil temperature drops to about 60°F (15°C). In most parts of the USA, this is usually from late September to early November.
- Depth and Spacing: Plant bulbs at a depth of two to three times their height. For example, if a bulb is 2 inches tall, plant it 4-6 inches deep. Space them according to the specific bulb’s requirements, usually 3-6 inches apart.
- Pointy Side Up: Always plant bulbs with the pointed end facing up. This is where the stem will emerge.
- Water Well: After planting, water the bulbs thoroughly. This helps settle the soil around them and kickstarts root growth.
5. Mulching and Winter Protection
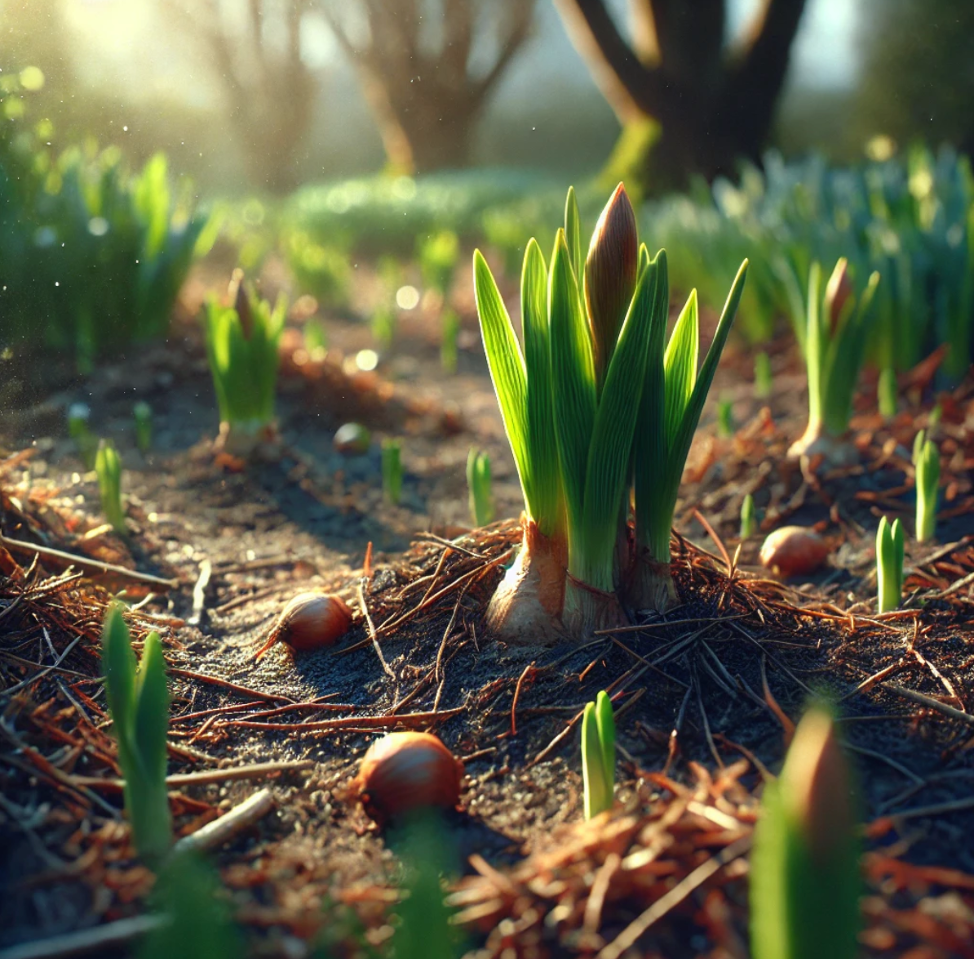
After planting, it’s important to protect your bulbs through the winter:
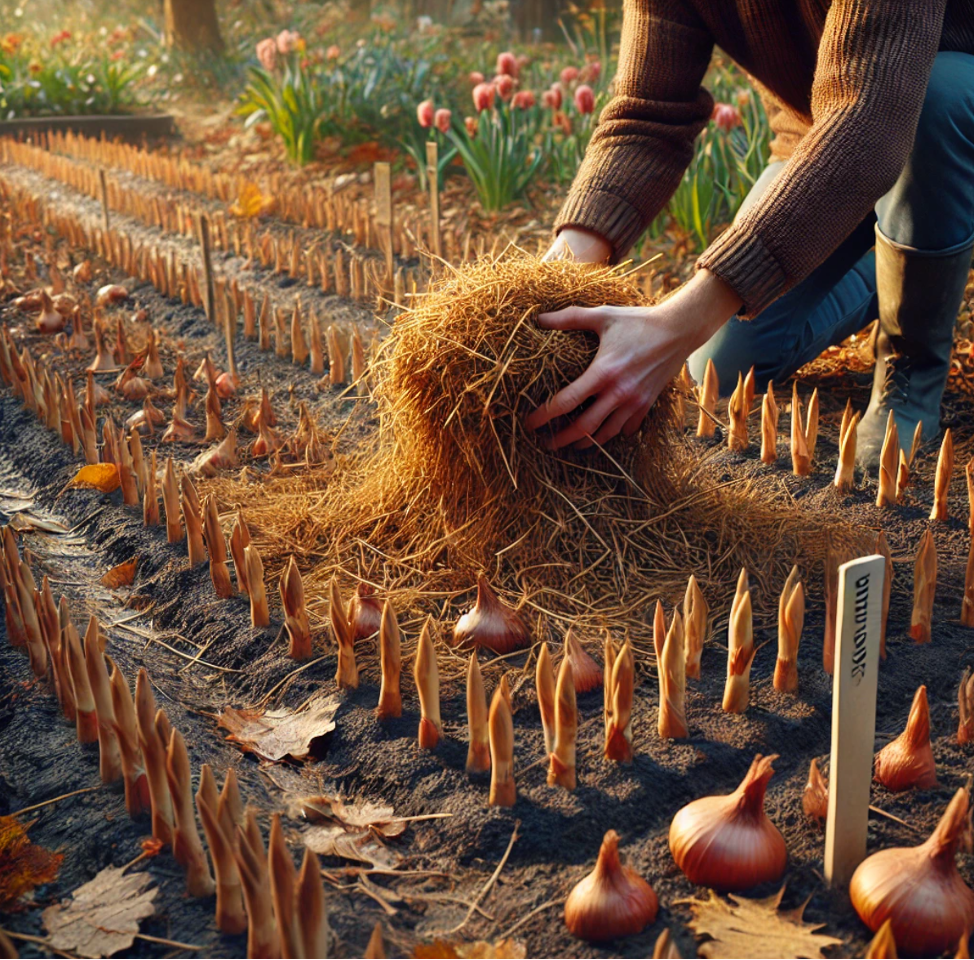
- Mulch: Apply a layer of mulch, such as straw, shredded leaves, or pine needles, over the planting area. Mulch helps regulate soil temperature and retains moisture.
- Protect from Pests: If you have problems with squirrels or other animals digging up bulbs, consider placing a wire mesh over the planting area before applying mulch. This will deter them from disturbing the bulbs.
- Mark Your Planting Spots: It’s easy to forget where you’ve planted bulbs, so mark the spots with garden stakes or labels. This will help you avoid disturbing them when you’re working in the garden over the winter.
6. Caring for Your Bulbs in Spring
Once the winter snow begins to melt, you can expect to see the first signs of life from your bulbs:
- Remove Mulch: As the temperatures begin to rise, remove the mulch to allow the soil to warm up faster and encourage the bulbs to sprout.
- Watering: Bulbs typically don’t need a lot of water, but if the spring is particularly dry, make sure to keep the soil moist.
- Fertilize Again: Once the shoots emerge, consider applying a balanced fertilizer to support growth and flowering.
7. Design Tips for a Stunning Spring Display
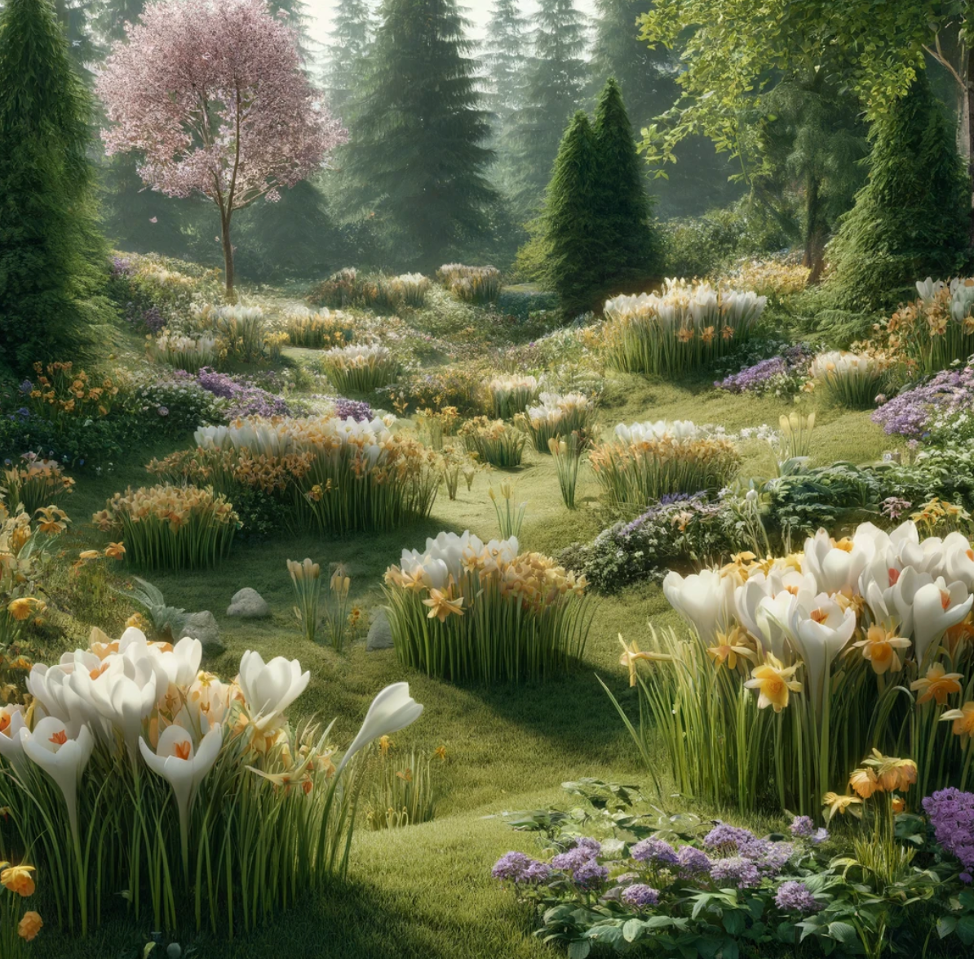
To create a breathtaking spring garden, consider these design tips:
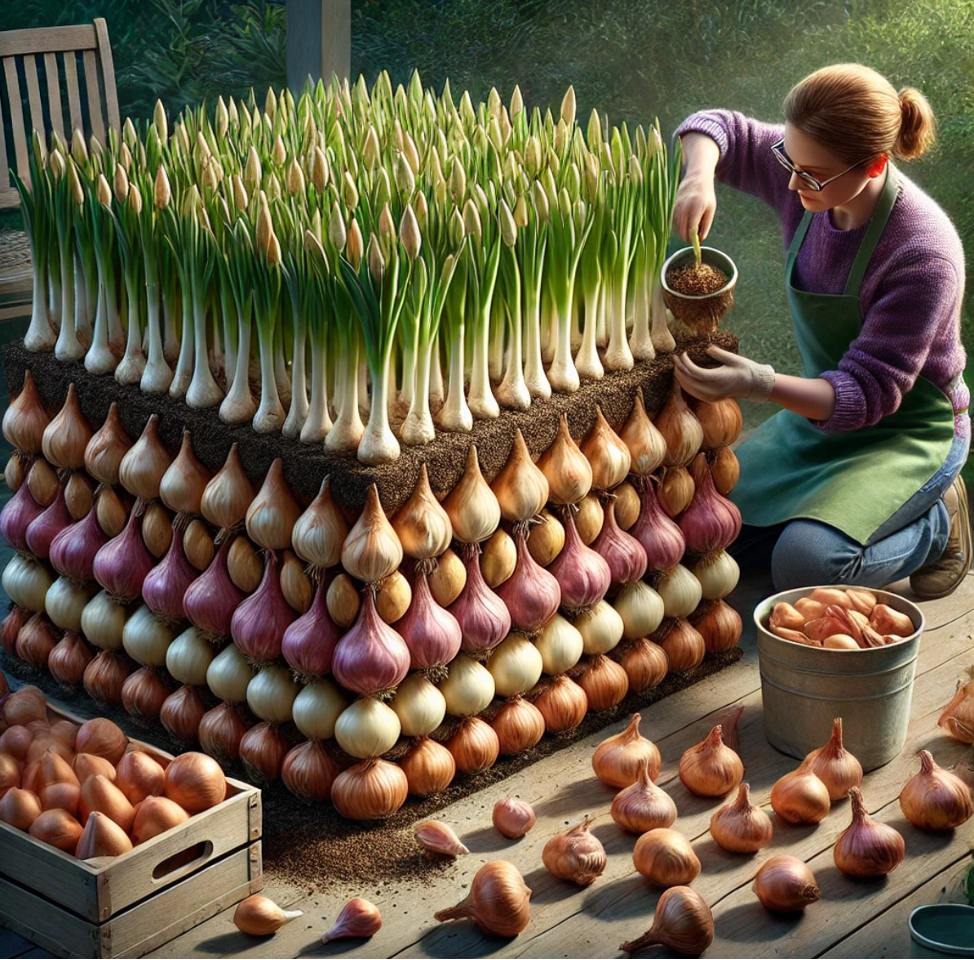
- Layer Your Bulbs: Plant bulbs in layers or “lasagna-style” in containers for a continuous bloom. Start with larger, later-blooming bulbs at the bottom, and plant smaller, early bloomers on top.
- Mix Colors and Heights: Combine bulbs of different colors and heights for visual interest. For example, plant tall tulips behind shorter daffodils and crocuses.
- Naturalize in Lawns and Woodlands: For a more natural look, scatter bulbs like crocuses and daffodils in lawns or under trees. They will multiply over time, creating a meadow-like effect.
Conclusion
Planting bulbs in the fall is one of the most rewarding gardening tasks you can do. With a little planning and effort, you’ll be greeted by a garden bursting with color when spring arrives. Whether you’re planting a few bulbs in containers or creating a large garden display, following these steps will help ensure a beautiful and successful bloom.

