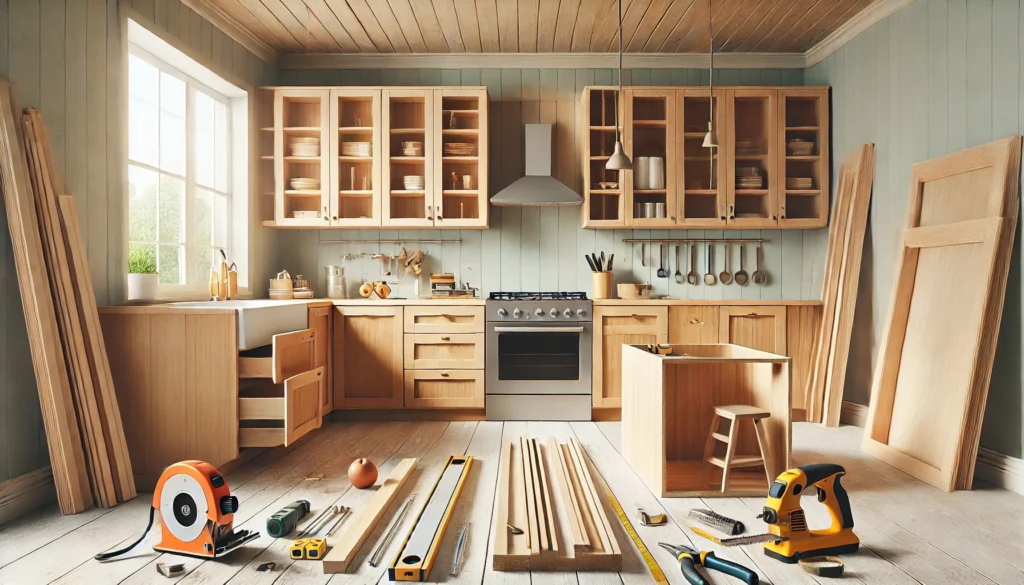
Building your own kitchen cabinets may sound intimidating, but with the right tools and approach, it’s a rewarding DIY project that can save you money and give your kitchen a personalized touch. In this beginner-friendly guide, we’ll walk you through each step to help you create beautiful, custom cabinets for your kitchen.

Why Build Your Own Kitchen Cabinets?
Before diving into the steps, let’s explore why DIY kitchen cabinets are a great idea:
- Cost Savings: Custom cabinets can be expensive. By building your own, you can cut costs significantly, especially if you already have tools.
- Customization: You can choose your own design, dimensions, and materials to suit your space and style.
- Satisfaction: The satisfaction of saying “I built that” is unbeatable, and you’ll enjoy your kitchen even more knowing it’s your creation.
Tools and Materials You’ll Need
Before getting started, gather the following materials and tools:
- Plywood sheets for the cabinet boxes
- Wood for face frames (optional)
- Doors and drawer fronts (pre-made or DIY)
- Hinges and drawer slides
- Screws, nails, and wood glue
- Measuring tape
- Drill and driver bits
- Circular saw or table saw
- Clamps
- Level
- Sander or sandpaper
- Primer and paint or wood finish
Step-by-Step Guide to Building DIY Kitchen Cabinets
1. Measure Your Space

The first and most important step is accurately measuring the space where your cabinets will go. Make sure to measure:
- Width of each cabinet section
- Height from floor to ceiling (or your desired cabinet height)
- Depth (standard depth is 24 inches for base cabinets)
Make a detailed plan that includes your measurements, the number of cabinets you need, and any special features like drawers or shelves.
2. Cut the Plywood for the Cabinet Boxes

Using your measurements, cut the plywood into the following pieces for each cabinet:
- Two side panels
- Top and bottom pieces
- Back panel
- Shelves (optional, depending on your design)
If you’re using a table saw, you can get precise cuts. If you only have a circular saw, use a guide to keep the cuts straight.
3. Assemble the Cabinet Boxes

Once all the pieces are cut, it’s time to assemble the cabinet boxes:
- Apply wood glue to the edges where the pieces will connect.
- Attach the side panels to the top and bottom panels using screws. Make sure everything is square using a level.
- Attach the back panel using nails or screws.
Pro Tip: Use clamps to hold everything together as you work to ensure the box remains square.
4. Install Shelves (If Needed)

If your cabinets include shelves, now is the time to install them. Cut the shelves to size and use shelf brackets or pocket holes to secure them inside the cabinet box.
You can also drill holes along the side panels to create adjustable shelving.
5. Build and Attach the Face Frame (Optional)

If you want a more traditional look, you can add a face frame to the front of your cabinet. This is typically made from 1×2 wood pieces that are attached to the front of the cabinet box. Cut the pieces to fit and glue them to the edges of the cabinet box.
6. Prep and Attach the Cabinet Doors

You have two options for cabinet doors: build them yourself or purchase pre-made doors.
- DIY Option: You can create simple slab doors by cutting plywood to size or opt for shaker-style doors with a frame.
- Pre-Made Option: Purchase doors that fit your cabinet box dimensions.
Once you have the doors, install them using cabinet hinges. Be sure to align the doors properly and use a level to ensure they’re straight.
7. Install Drawer Slides (If Applicable)

If your design includes drawers, now is the time to install the drawer slides inside the cabinet. Follow the manufacturer’s instructions carefully, as incorrect installation can cause drawers to misalign.
Next, attach the drawer fronts to the drawer boxes. Make sure they are centered and straight.
8. Finish the Cabinets

Before painting or staining your cabinets, use sandpaper to smooth all surfaces and edges. If you’re painting, apply a primer coat first, then follow up with your paint color of choice. For a wood finish, apply a stain and protective topcoat.
Installing the Cabinets in Your Kitchen
Once your cabinets are built, it’s time to install them in your kitchen:
- Find Studs: Use a stud finder to locate the studs in the wall where the cabinets will be mounted.
- Position Cabinets: Place the cabinets in position, starting with the corner units.
- Secure Cabinets: Use long screws to attach the cabinets to the wall studs. Make sure they’re level and properly aligned with each other.
Additional Tips for Success
- Plan Ahead: The more detailed your plan, the smoother the process will be.
- Take Your Time: Building cabinets is not a race; ensure each step is completed properly.
- Use Quality Materials: Using high-quality wood and hardware will ensure your cabinets last for years.
- Safety First: Always wear protective gear when using power tools and take appropriate safety precautions.
Conclusion
Building your own kitchen cabinets is a fantastic DIY project that can transform your kitchen and save you a lot of money. By following these step-by-step instructions, even beginners can create beautiful, functional cabinets that look professionally made. With patience, careful planning, and attention to detail, your DIY kitchen cabinets will become a source of pride for years to come.

