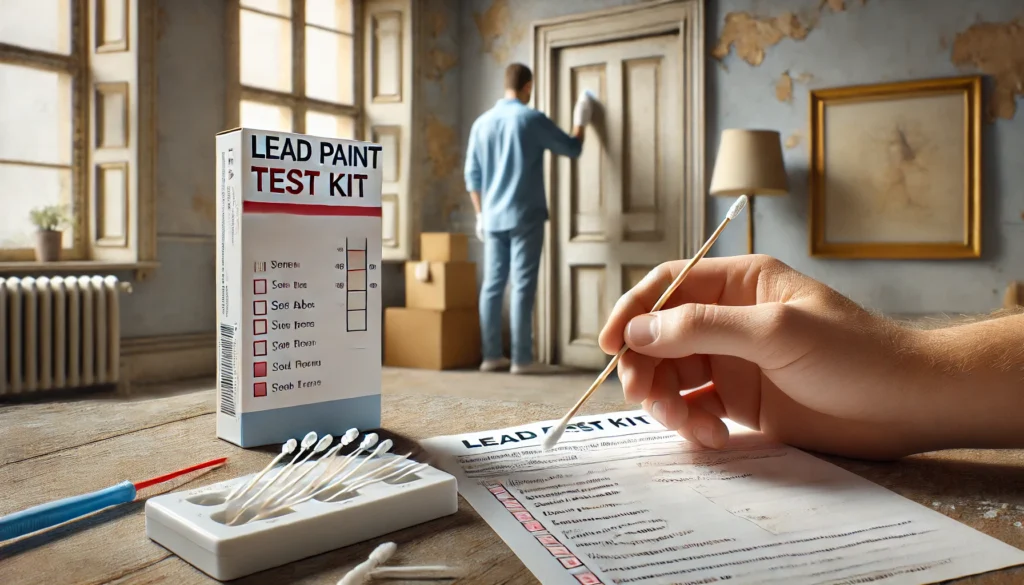
Lead-based paint was commonly used in homes built before 1978, but it poses serious health risks, especially for children and pregnant women. If you live in an older home or suspect the presence of lead paint, using a lead paint test kit is an easy, cost-effective way to check for lead before undertaking any renovations or repairs. This guide will walk you through how to properly use a lead paint test kit and ensure your home is safe.
Step 1: Purchase a Lead Paint Test Kit
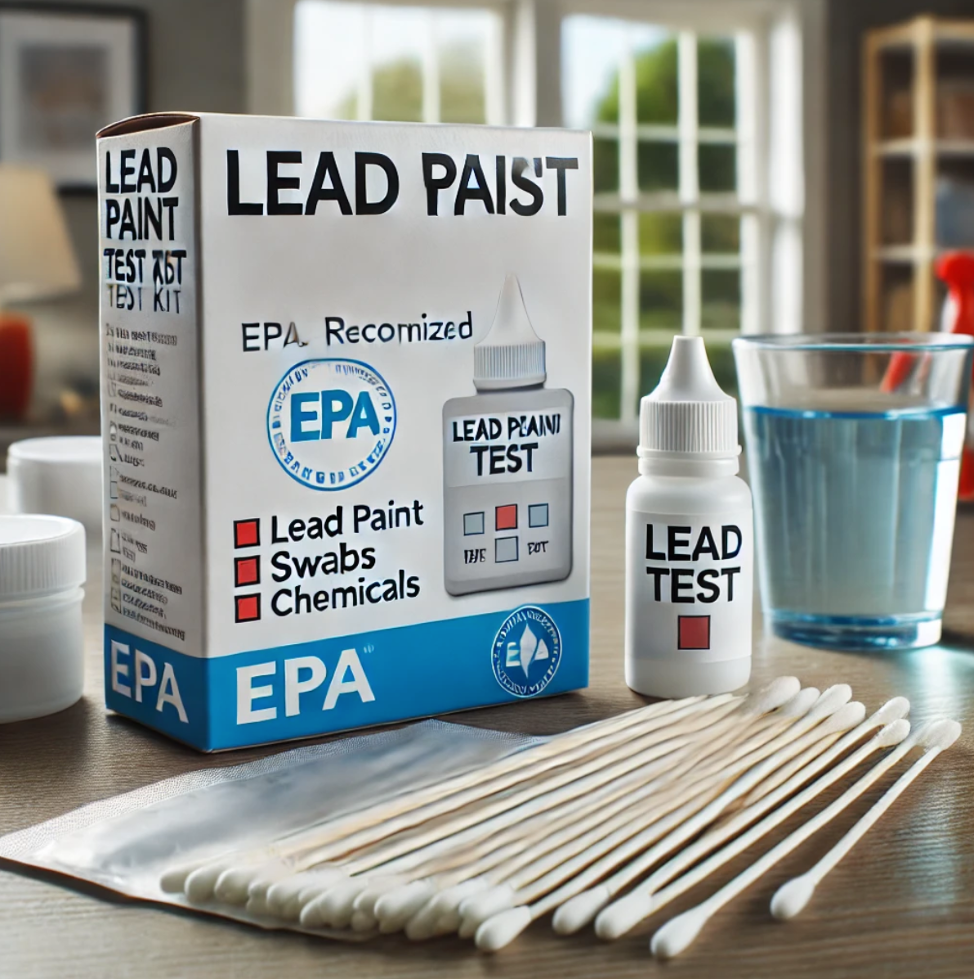
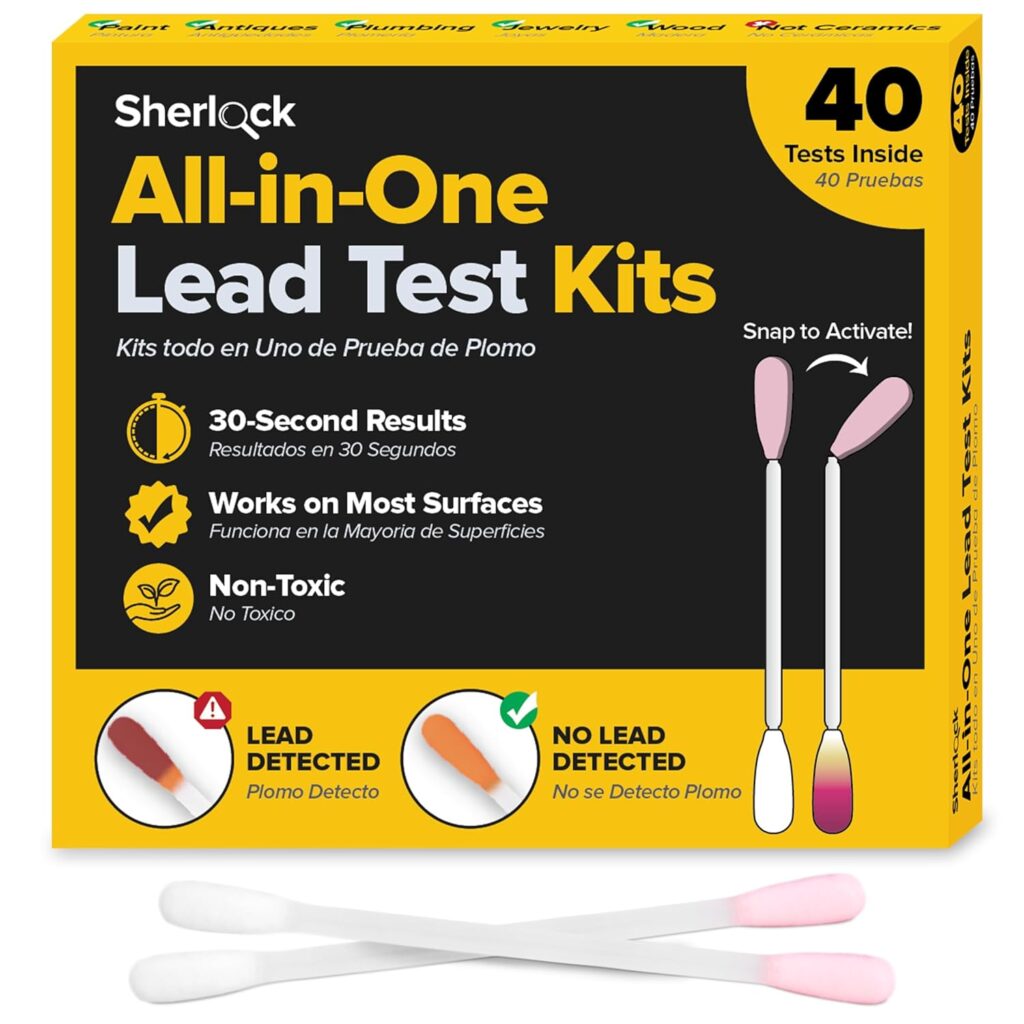
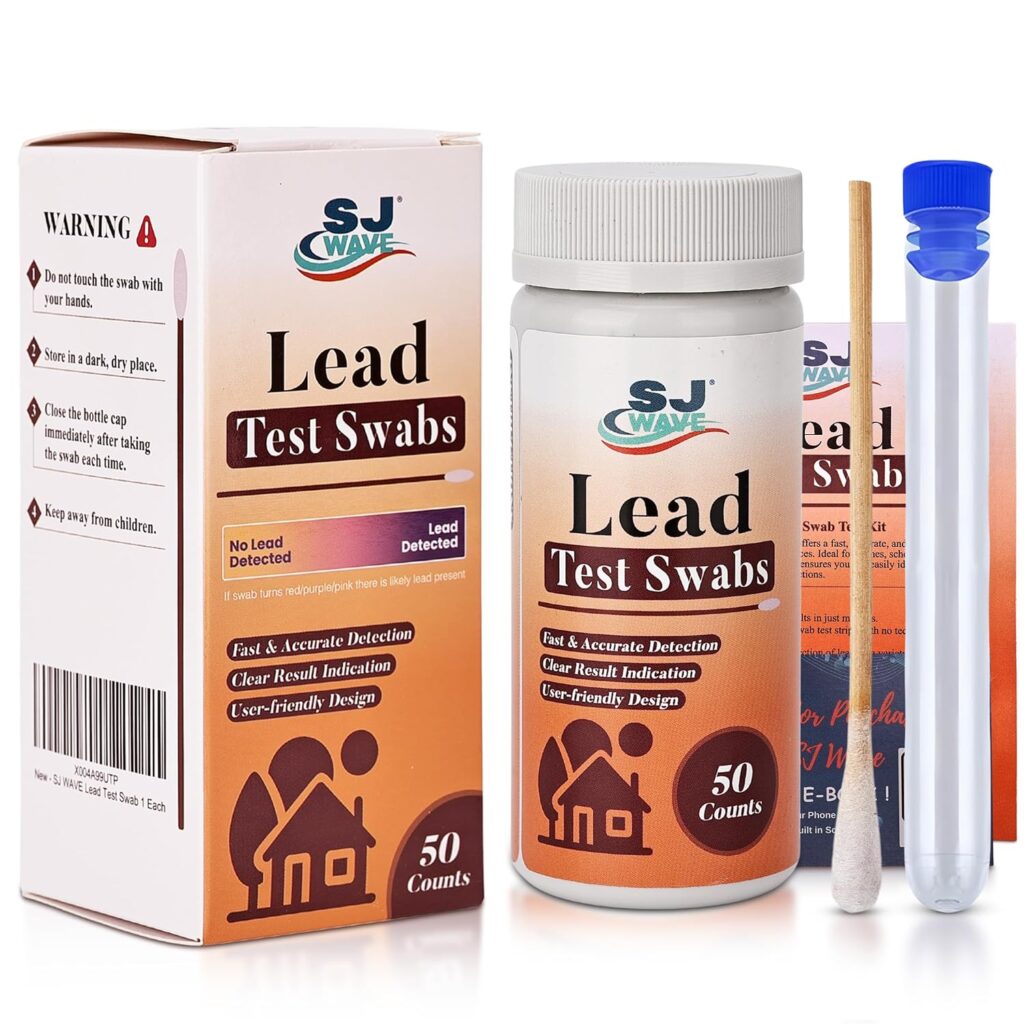
There are several lead paint test kits available on the market, most of which are approved by the EPA (Environmental Protection Agency) for accuracy. Popular options include 3M LeadCheck and D-Lead. These kits typically contain swabs or chemicals that react to the presence of lead in paint.
When purchasing, ensure the kit is EPA-recognized, as this ensures a higher degree of accuracy and reliability.
Step 2: Prepare the Test Area
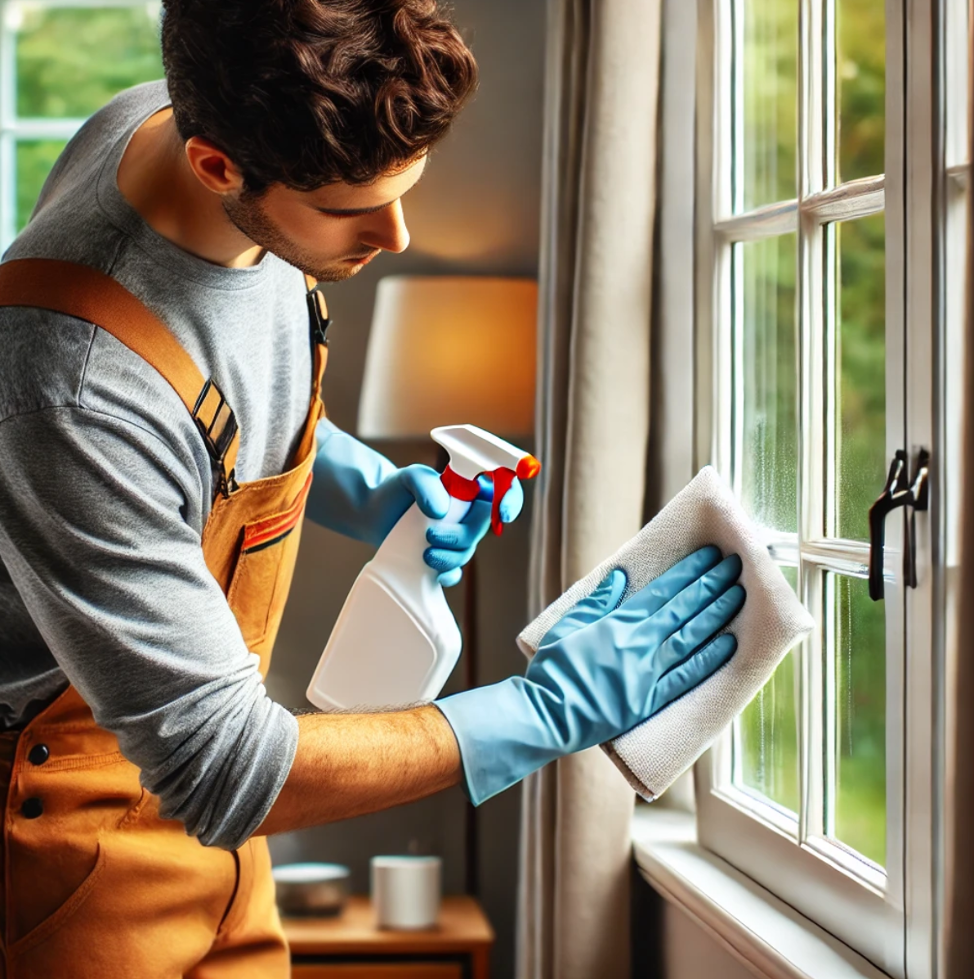
Before testing, identify the areas where you suspect lead paint might be present. Common places include:
- Window frames
- Door frames
- Baseboards
- Older furniture painted before 1978
Ensure the area is clean and dry. Remove any dust or dirt that could interfere with the test results. It’s a good idea to wear gloves during the process to avoid any skin contact with potential lead particles.
Step 3: Follow the Test Kit Instructions
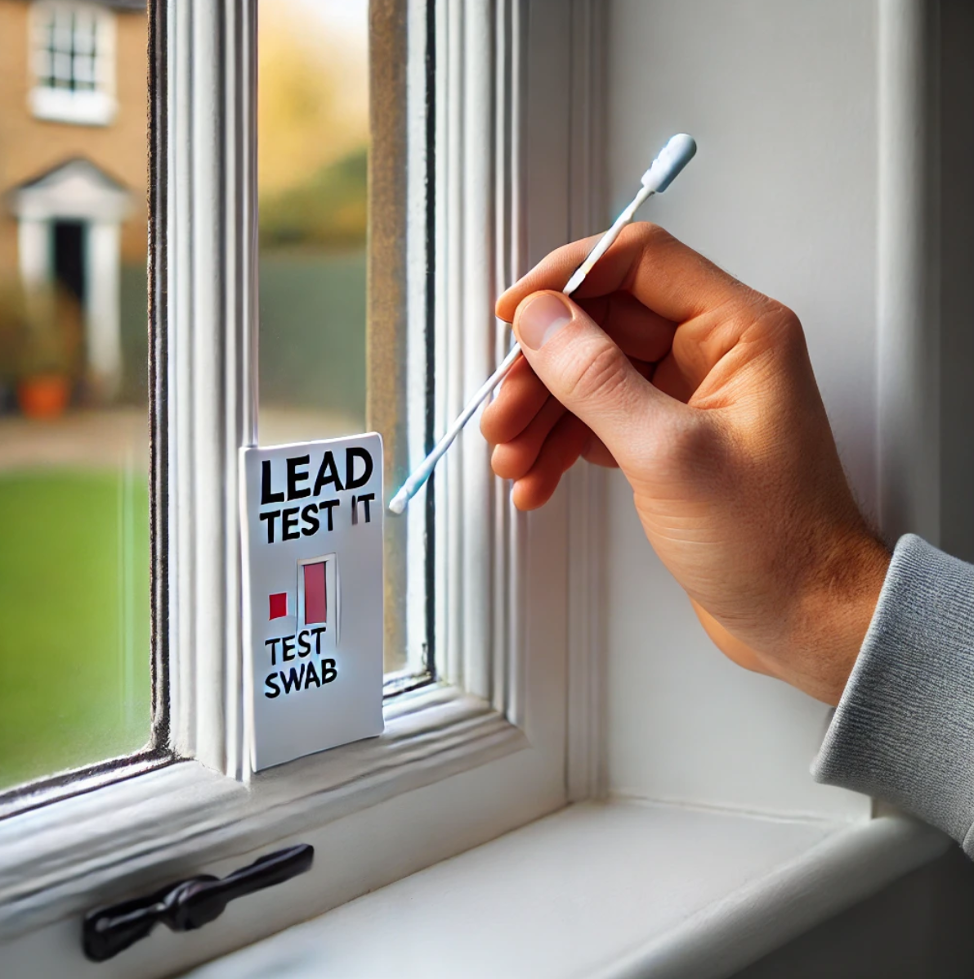
Each test kit works a little differently, but generally, the process involves the following steps:
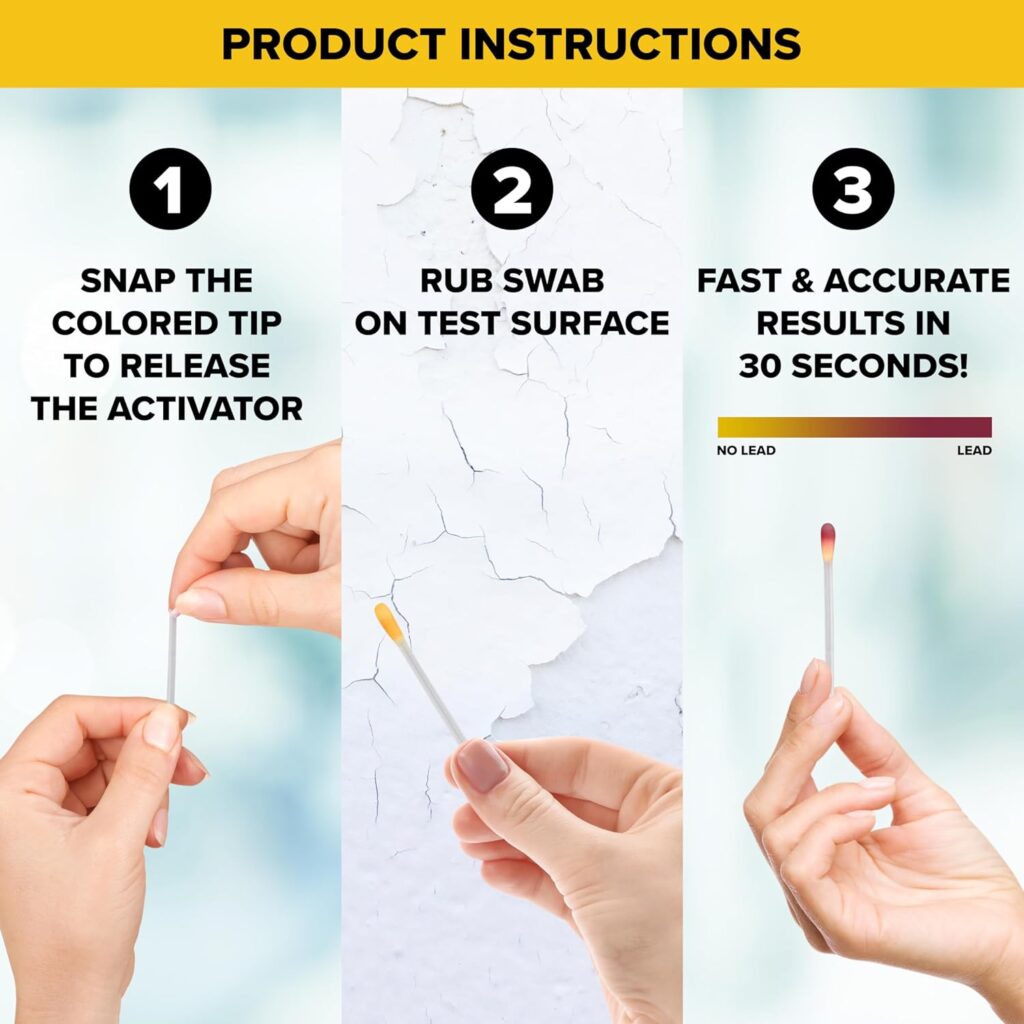
- Rub the Test Swab on the Surface: Open the test kit, take out the test swab, and follow the instructions to activate it. This typically involves squeezing or snapping the swab to release the chemicals. Rub the swab on the area you are testing.
- Wait for the Reaction: After swabbing the surface, wait for the reaction. In most kits, the swab will change color if lead is present—usually turning red or pink in the case of a positive reaction.
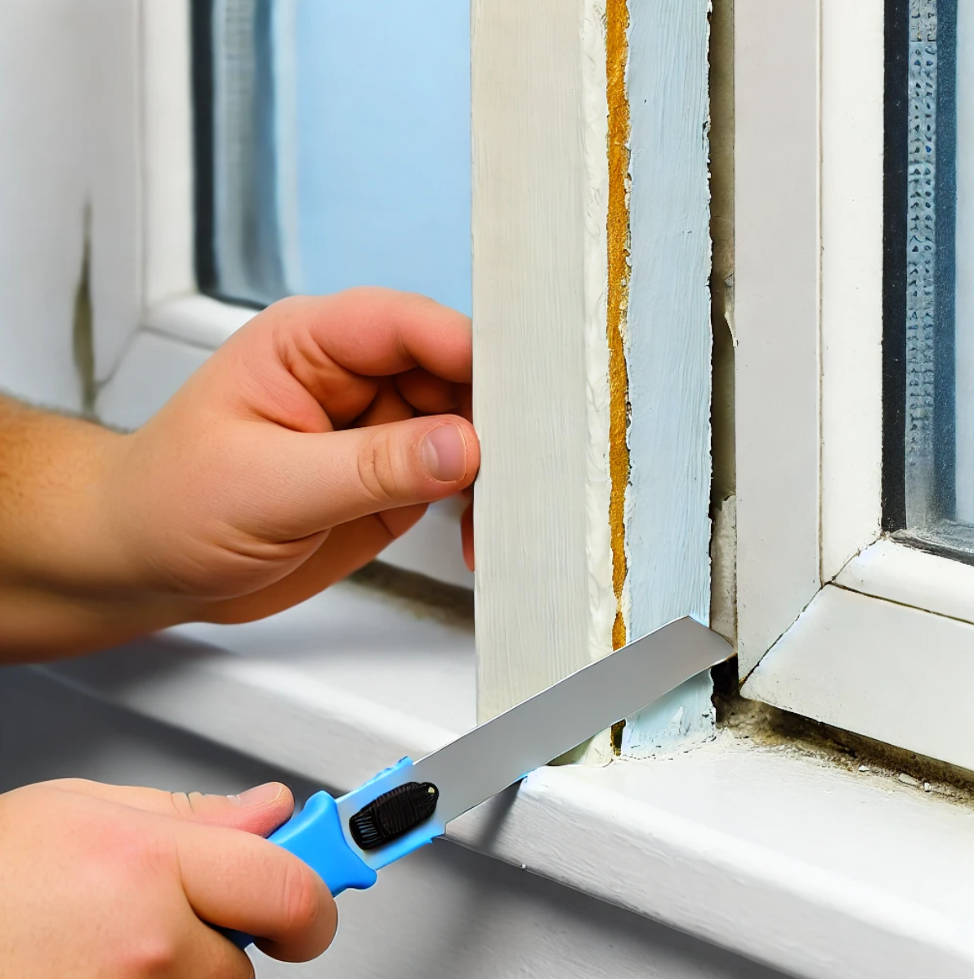
- Test Multiple Layers: Sometimes lead paint is covered by newer layers of non-lead paint. Use a utility knife to cut through the paint layers so that the swab can come into contact with the older paint underneath.
Step 4: Interpret the Results
Most kits will give you results within a few minutes. If the swab changes color, this indicates the presence of lead. If no color change occurs, the test is negative. However, it’s essential to test multiple areas, especially if your home is older, to ensure accuracy.
Step 5: What to Do If You Find Lead Paint
If your test results indicate the presence of lead, do not attempt to remove it yourself, especially if the paint is chipping or peeling. Lead paint removal should be done by certified professionals trained in safe lead removal and disposal. Lead poisoning is dangerous, and inhaling or ingesting lead dust can cause serious health issues.
You can reduce exposure by:
- Sealing the painted surface with a fresh coat of non-lead paint.
- Keeping children and pets away from areas with lead paint.
- Wetting down surfaces before cleaning to prevent dust from becoming airborne.
Step 6: Keep Records
Once you’ve completed the testing, it’s a good idea to document where the lead was found and keep a record of any tests and results. This information can be important for future renovations or if you plan to sell your home.
Conclusion
Using a lead paint test kit is a simple and effective way to ensure the safety of your home. If you live in an older property, regular testing can help prevent potential exposure to harmful lead dust. Always follow the instructions provided with the test kit, and if lead is found, contact professionals for safe removal.
Our site is a participant in the Amazon Associates program and may earn a commission from qualifying purchases made through the links on this page.

