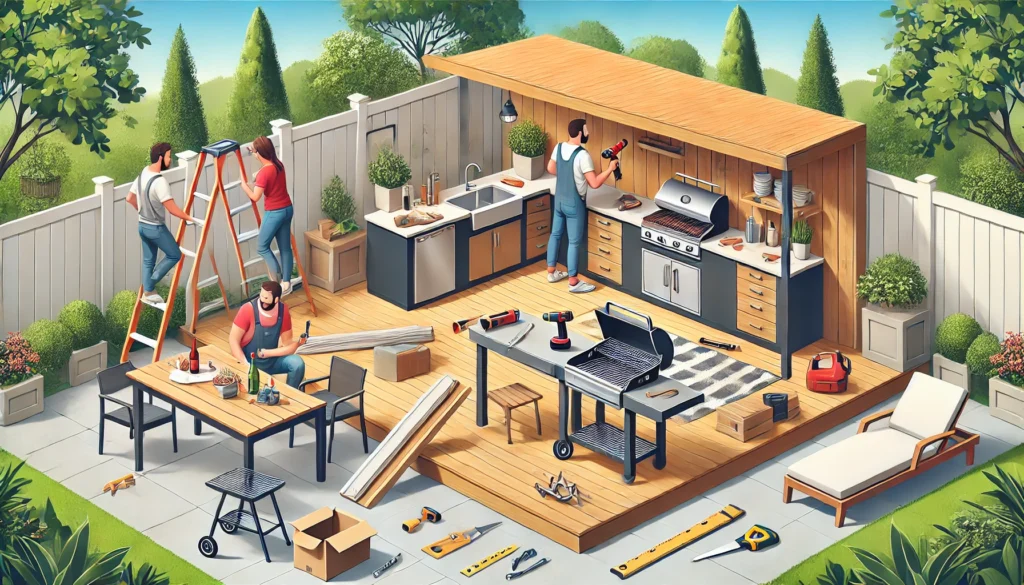
An outdoor kitchen can transform your backyard into a functional, stylish space for cooking, dining, and entertaining. While pre-built outdoor kitchens can be expensive, building your own DIY outdoor kitchen is an affordable and rewarding project that allows you to customize the space to your exact needs. In this comprehensive guide, we’ll walk you through the step-by-step process of building a DIY outdoor kitchen, from planning and choosing materials to installation and finishing touches.
Why Build a DIY Outdoor Kitchen?
There are several key benefits to building an outdoor kitchen yourself:
- Cost Savings: Pre-made outdoor kitchens can cost thousands of dollars. By building your own, you can save significantly on labor and materials.
- Customization: When building your own outdoor kitchen, you can tailor it to your specific needs—whether that’s more counter space, additional storage, or custom appliances.
- Increased Home Value: An outdoor kitchen is a valuable home improvement that adds to the overall appeal and resale value of your property.
- Personal Satisfaction: Completing a large DIY project brings immense satisfaction and pride, knowing you built a beautiful, functional space for your family and friends to enjoy.
Tools and Materials You’ll Need
Before diving into the project, it’s essential to gather all the necessary tools and materials to avoid delays and ensure smooth progress.
Tools:
- Drill with bits
- Circular saw or table saw
- Measuring tape
- Level
- Masonry tools (for brick or stone)
- Clamps
- Screws and bolts
- Trowel
- Shovel
- Utility knife
Materials:
- Concrete blocks or metal framing for the structure
- Outdoor-grade plywood or cement board for the base
- Bricks, stone, or tile for cladding
- Countertop material (e.g., granite, tile, concrete, or stainless steel)
- Outdoor-rated appliances (grill, sink, refrigerator)
- Mortar and grout
- Outdoor sealant
- Wood or stone for shelving (optional)
Step-by-Step Guide to Building Your DIY Outdoor Kitchen
1. Plan Your Layout and Design
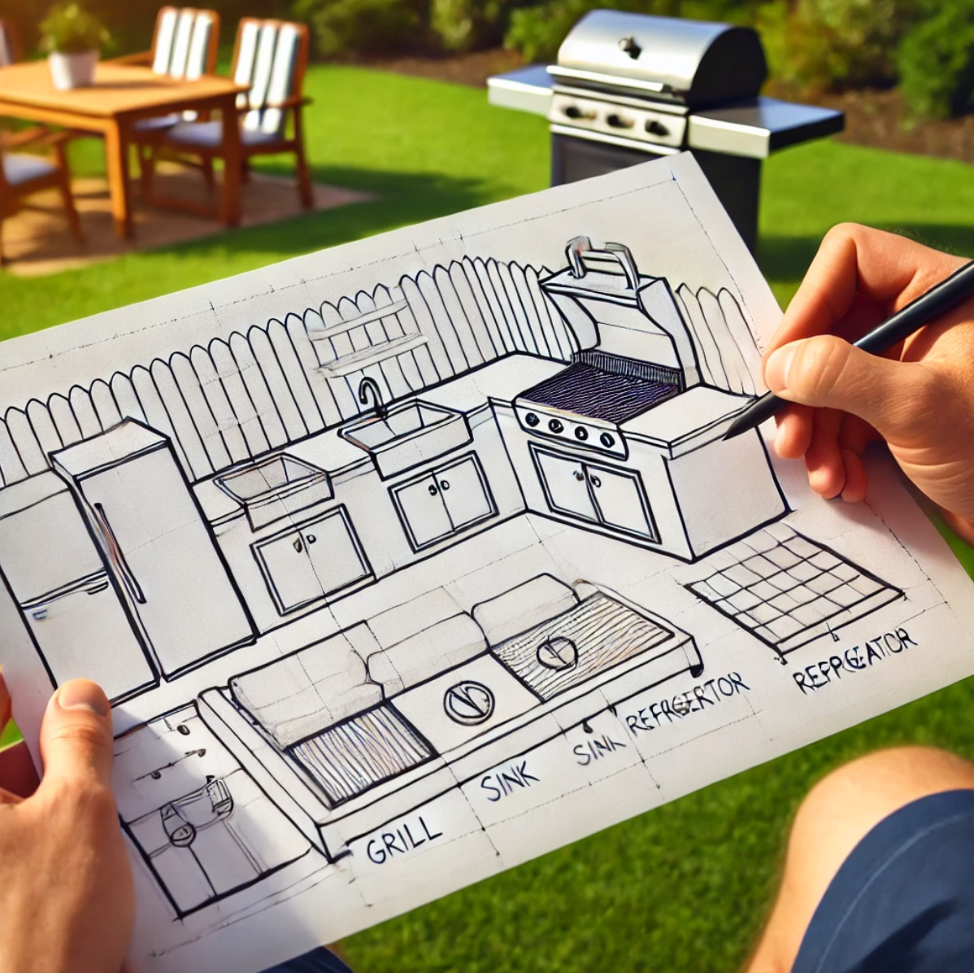
The first and most crucial step is planning the layout of your outdoor kitchen. This step will determine the materials and appliances you’ll need. Consider the following:
- Location: Choose a spot in your yard that’s close to the house for convenience but also leaves enough space for outdoor dining and entertaining. Ensure the area is level and has access to utilities (water, electricity, and gas, if necessary).
- Functionality: Think about how you’ll use the space. Do you need a large grill, extra countertop space, or a built-in refrigerator? Plan your kitchen design based on your cooking habits and entertaining needs.
- Budget: Set a budget for your project to guide material and appliance choices. DIY outdoor kitchens can range from a few hundred dollars to several thousand, depending on the complexity.
Pro Tip: Draw a scaled diagram of your outdoor kitchen to visualize the layout and ensure you have enough space for appliances, seating, and movement.
2. Build the Foundation
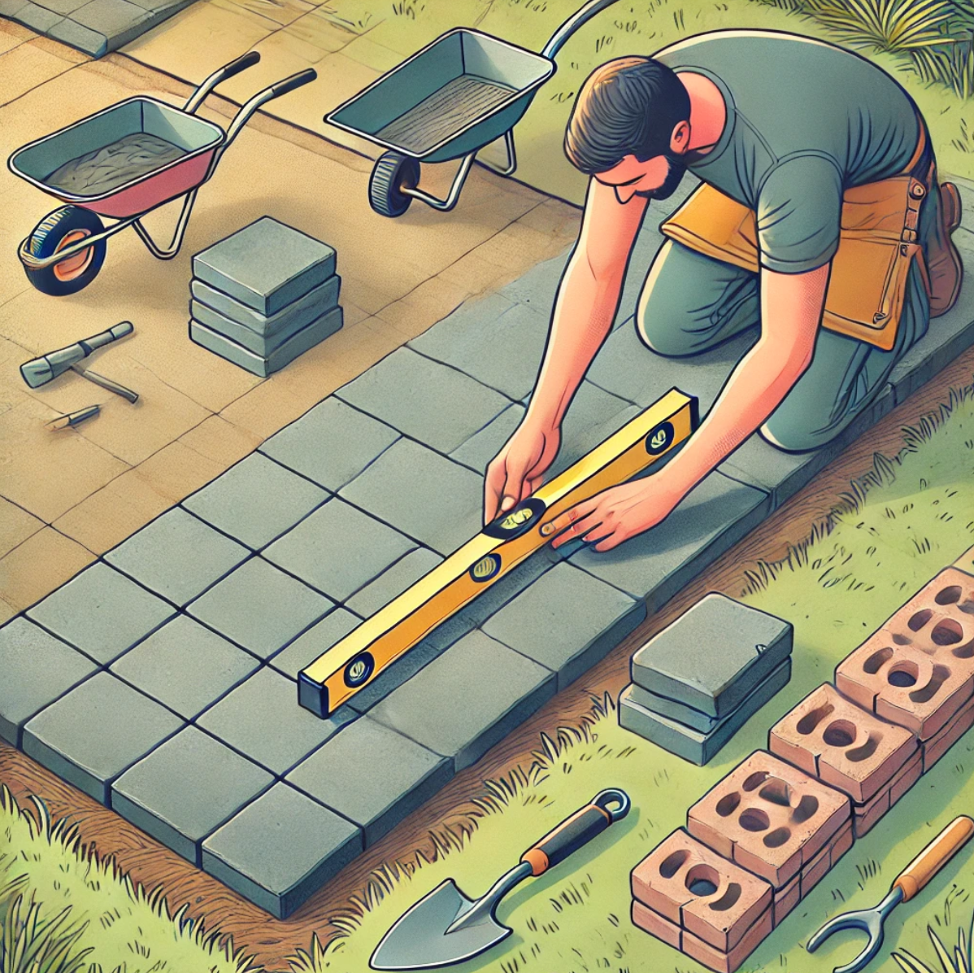
Most outdoor kitchens require a solid foundation to support the weight of the structure and appliances. You have several options for creating the foundation:
- Concrete Slab: A concrete slab is the most durable and long-lasting option, ideal for larger or more permanent kitchens. Lay the slab at least 4-6 inches thick to ensure stability.
- Paver Base: For a simpler, more cost-effective solution, use pavers. Make sure the ground is level and compact before laying the pavers.
Once the foundation is ready, allow it to cure for at least 24 hours before proceeding.
3. Construct the Frame
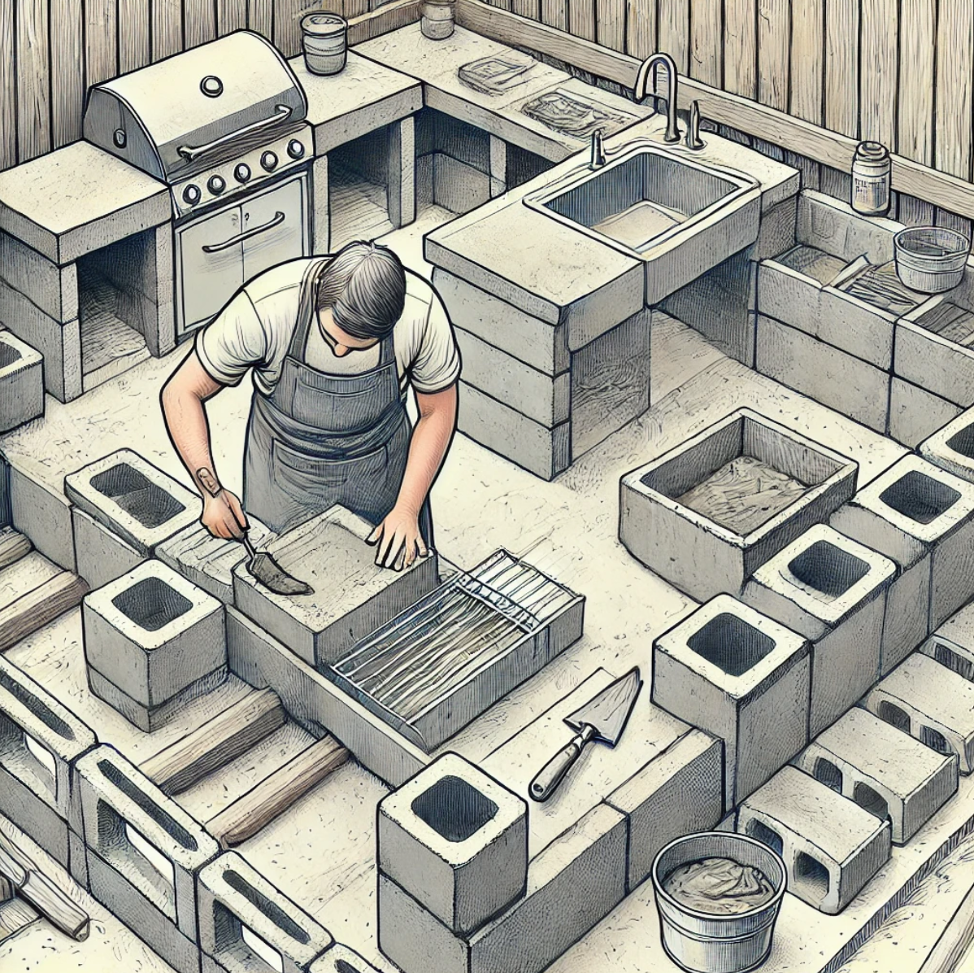
Next, build the frame for your outdoor kitchen. Depending on the design, you can use concrete blocks, metal studs, or treated wood.
- Concrete Block Frame: This method is ideal for a sturdy, permanent structure. Lay the blocks using mortar to create a solid frame for your appliances, grill, and storage.
- Metal or Wood Frame: If you prefer a lightweight option, use galvanized metal studs or pressure-treated wood. Secure the frame to the foundation using bolts and ensure it is level.
Make openings in the frame for your grill, sink, and refrigerator, following manufacturer specifications for ventilation and clearance.
4. Install the Countertop
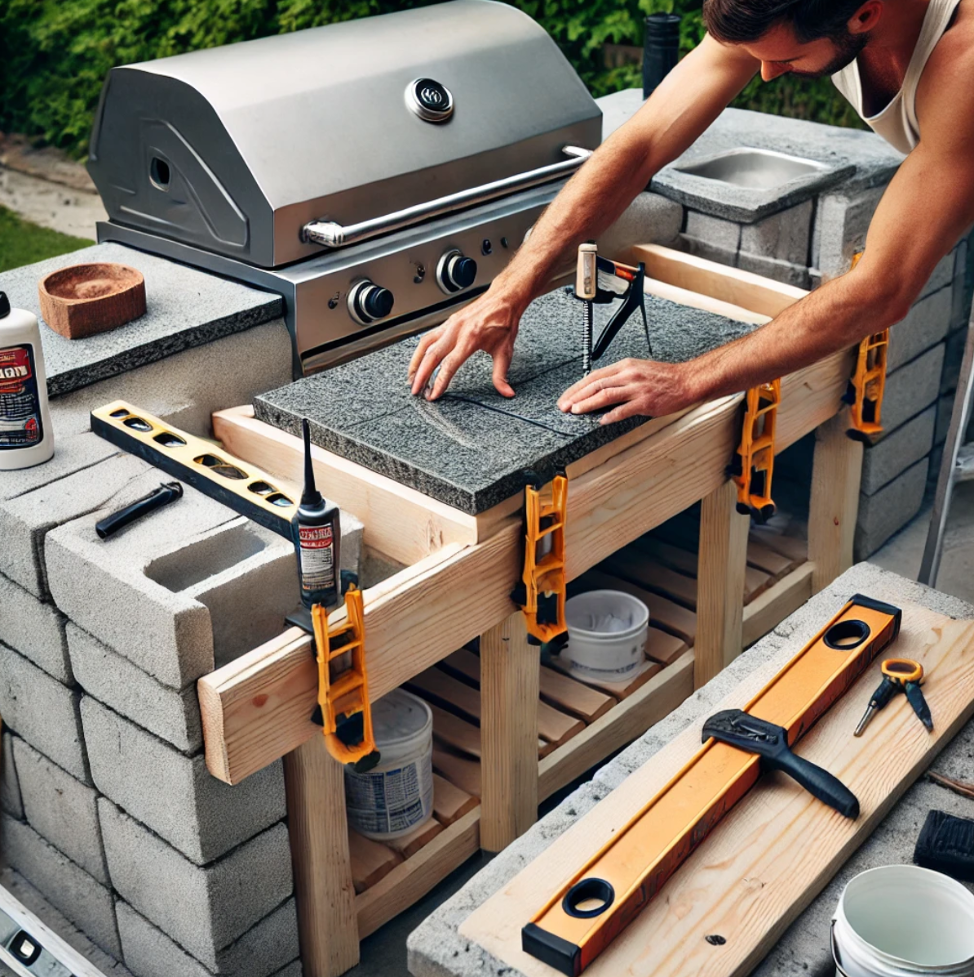
The countertop is a key feature of your outdoor kitchen, providing space for food prep, dining, and serving. Popular materials include:
- Granite: Durable and resistant to heat, granite is a top choice for outdoor kitchens. Seal it properly to prevent stains.
- Concrete: A DIY-friendly option that can be poured and customized to fit any shape or size. Be sure to seal it to protect against weather and stains.
- Tile: Cost-effective and available in a variety of designs, tile is great for a Mediterranean or rustic look.
- Stainless Steel: Provides a sleek, modern look and is highly resistant to weather, though it can get hot in direct sunlight.
Pro Tip: Ensure your countertop material is outdoor-rated and weather-resistant for long-term durability.
5. Add Cladding and Finishing Touches
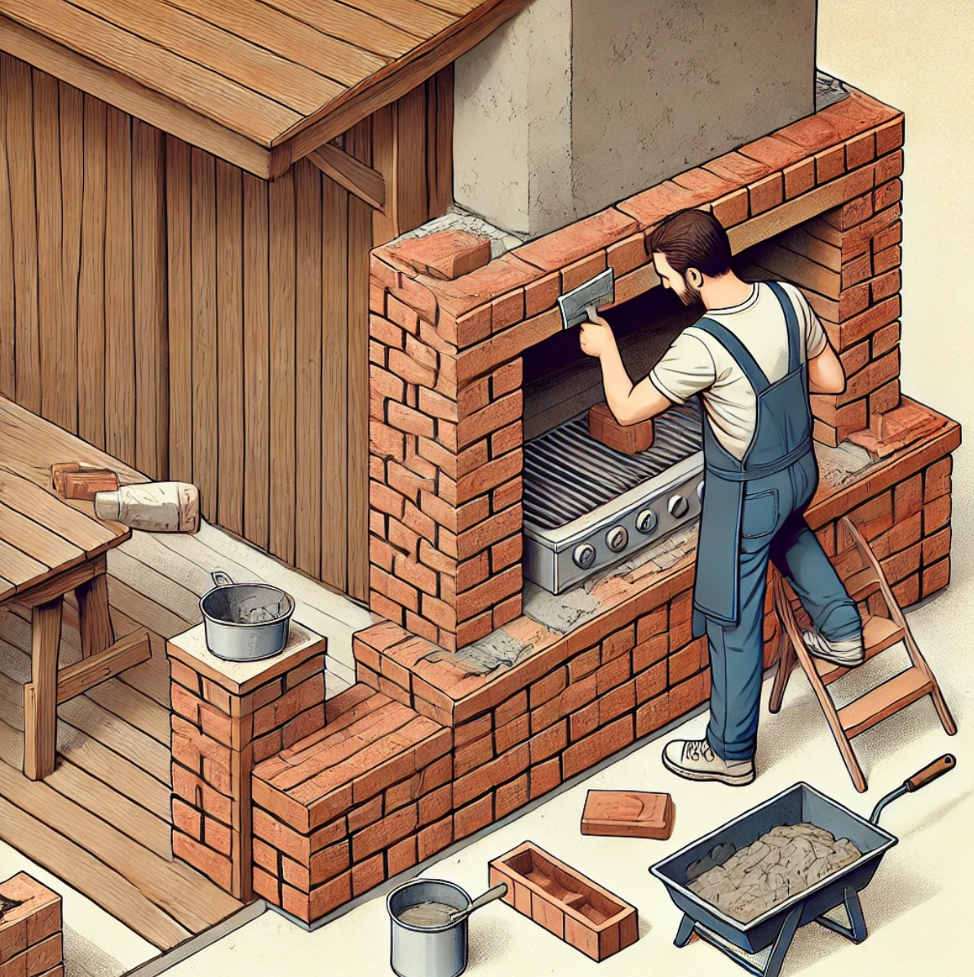
Now that the frame and countertop are in place, it’s time to add the finishing materials that give your outdoor kitchen its final look.
- Brick or Stone Veneer: Cladding your outdoor kitchen in brick or stone gives it a rustic, natural look. Use mortar to adhere the veneer to the frame.
- Tile: For a more modern or colorful appearance, tile the exterior of your kitchen. Make sure to use outdoor-grade tile and grout for weather resistance.
Once the cladding is installed, apply grout to fill in gaps and seal everything with a weatherproof sealant.
6. Install Appliances and Fixtures
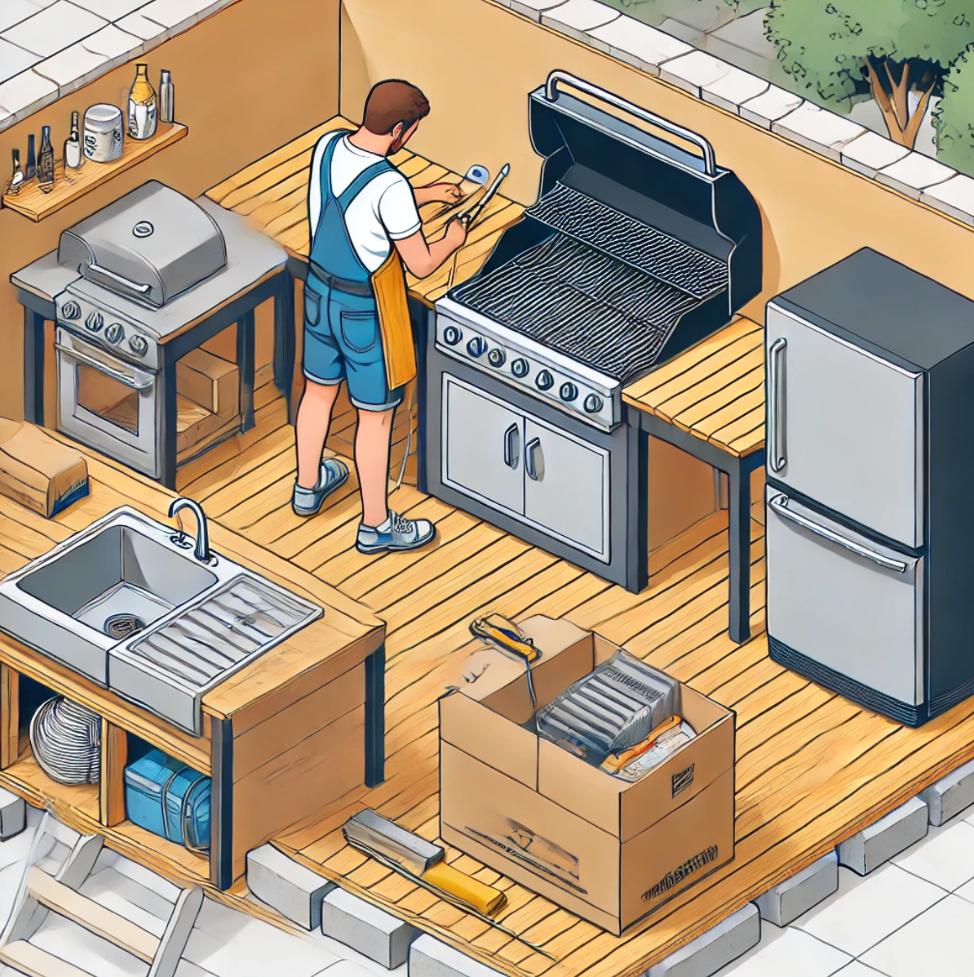
After the structure is complete, install your outdoor-rated appliances and fixtures. Make sure all utilities (water, gas, and electricity) are connected properly.
- Grill: Install your grill in its designated opening, ensuring there’s adequate ventilation and heat-resistant materials around it.
- Sink: If you’ve included a sink, connect it to your water line and ensure proper drainage.
- Refrigerator: Place the refrigerator in a shaded area to prevent overworking the compressor in hot weather. Use outdoor-rated refrigerators for longevity.
Pro Tip: Test all appliances and ensure proper connections before using the kitchen.
Maintenance and Care Tips for Your Outdoor Kitchen
An outdoor kitchen is exposed to the elements year-round, so regular maintenance is essential to ensure its longevity.
- Seal the Countertops: Reapply outdoor sealant annually to protect the countertops from stains, moisture, and UV damage.
- Cover Appliances: When not in use, cover your grill, sink, and refrigerator to prevent weather damage.
- Clean Regularly: Sweep the area and wipe down surfaces after each use to prevent the buildup of dirt, grease, and debris.
- Check Utilities: Regularly inspect your gas, water, and electrical connections to ensure everything is in working order.
Conclusion
Building your own DIY outdoor kitchen is a rewarding project that adds style, functionality, and value to your outdoor space. With the right tools, materials, and planning, you can create a custom outdoor kitchen that suits your lifestyle and enhances your backyard entertaining experience.
By following this step-by-step guide, you’ll be well on your way to enjoying delicious meals and memorable gatherings in your new outdoor kitchen. So grab your tools, roll up your sleeves, and start building today!

