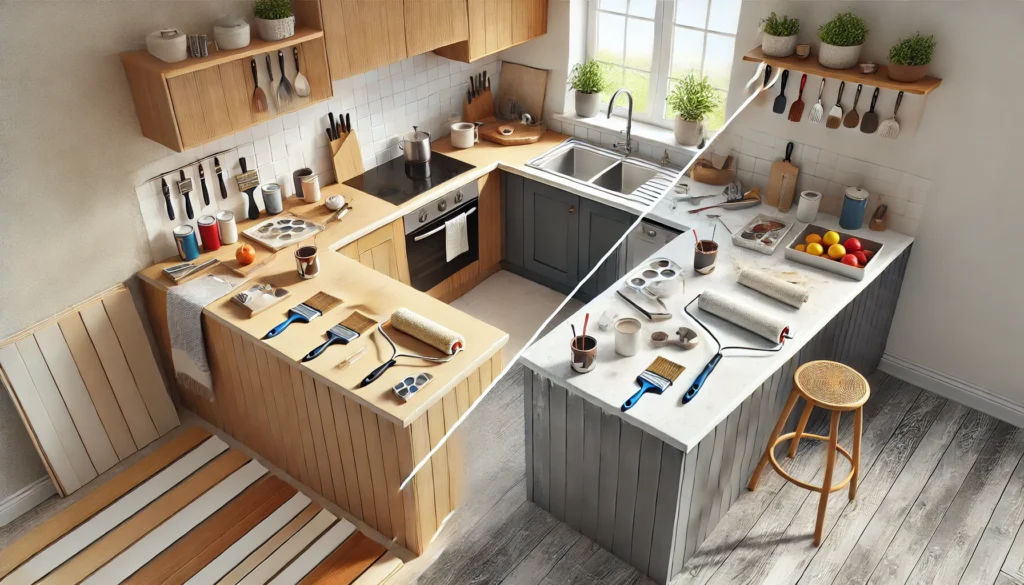
Laminate countertops, while durable and affordable, can start looking outdated or worn over time. Rather than replacing them, a more budget-friendly option is to give them a fresh coat of paint. With the right materials and preparation, you can transform your countertops and give your kitchen or bathroom a fresh new look. Here’s a comprehensive guide to painting laminate countertops that will ensure a professional-looking finish.
Step 1: Gather Your Materials
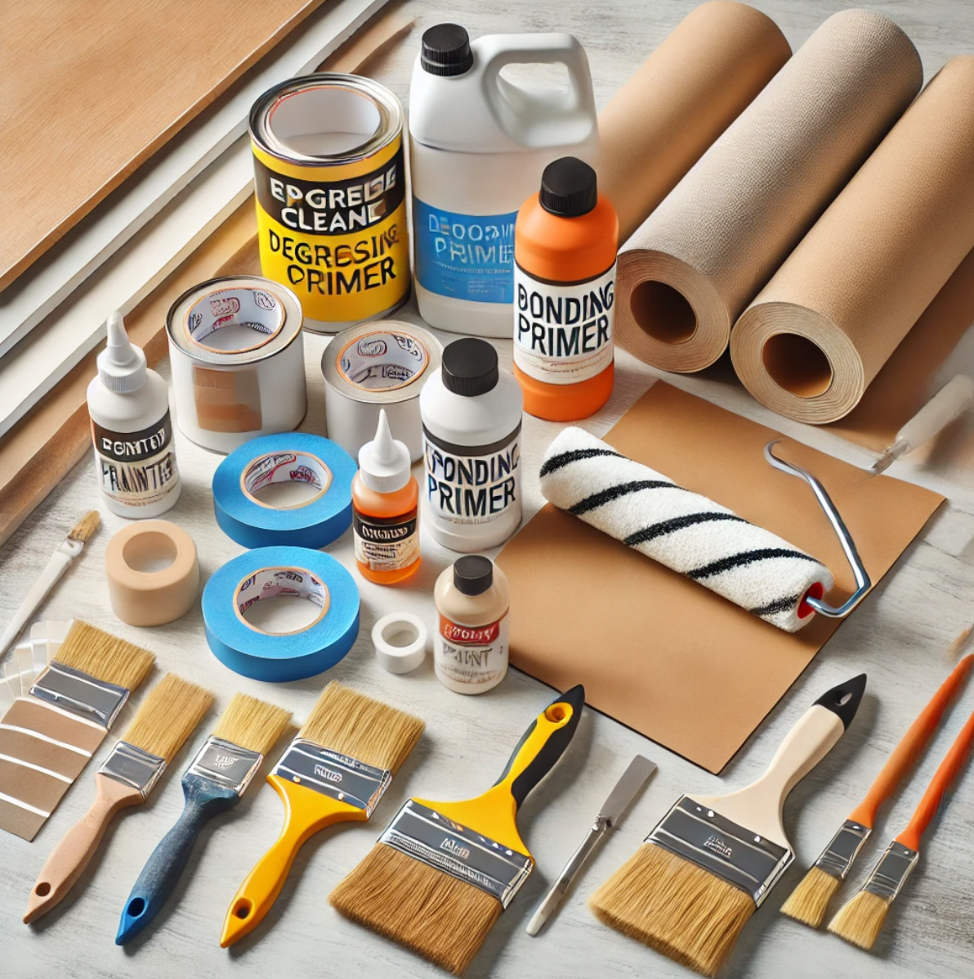
Before starting the project, make sure you have the necessary tools and materials:
- Painter’s tape
- Sandpaper (120-grit and 220-grit)
- Degreasing cleaner
- Primer (bonding primer is recommended for laminate)
- Paint (epoxy or acrylic paint works well)
- Foam roller and brushes
- Polyurethane or a clear protective coat
Step 2: Clean the Surface Thoroughly
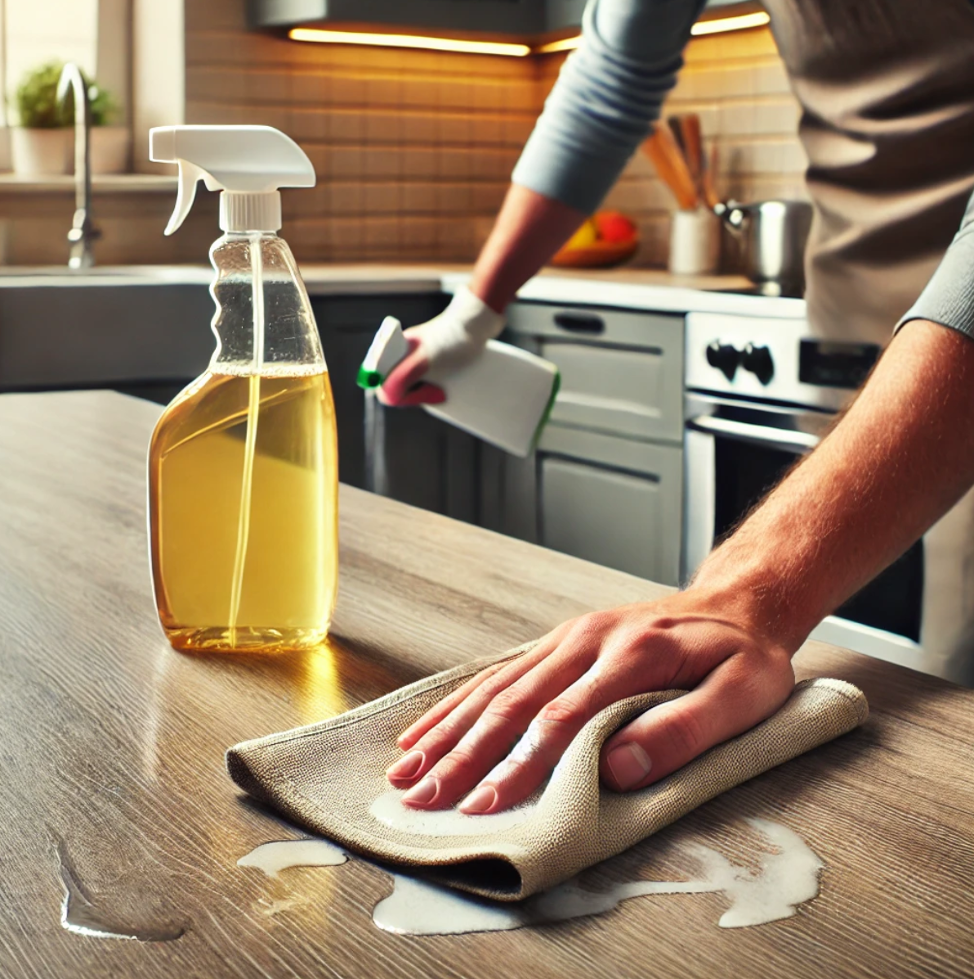
Laminate countertops can accumulate grease, grime, and dirt, which can prevent paint from adhering properly. Use a strong degreasing cleaner to wipe down the surface. Scrub any tough stains and ensure all cleaning agents are removed. Allow the countertop to dry completely before moving to the next step.
Step 3: Sand the Countertop
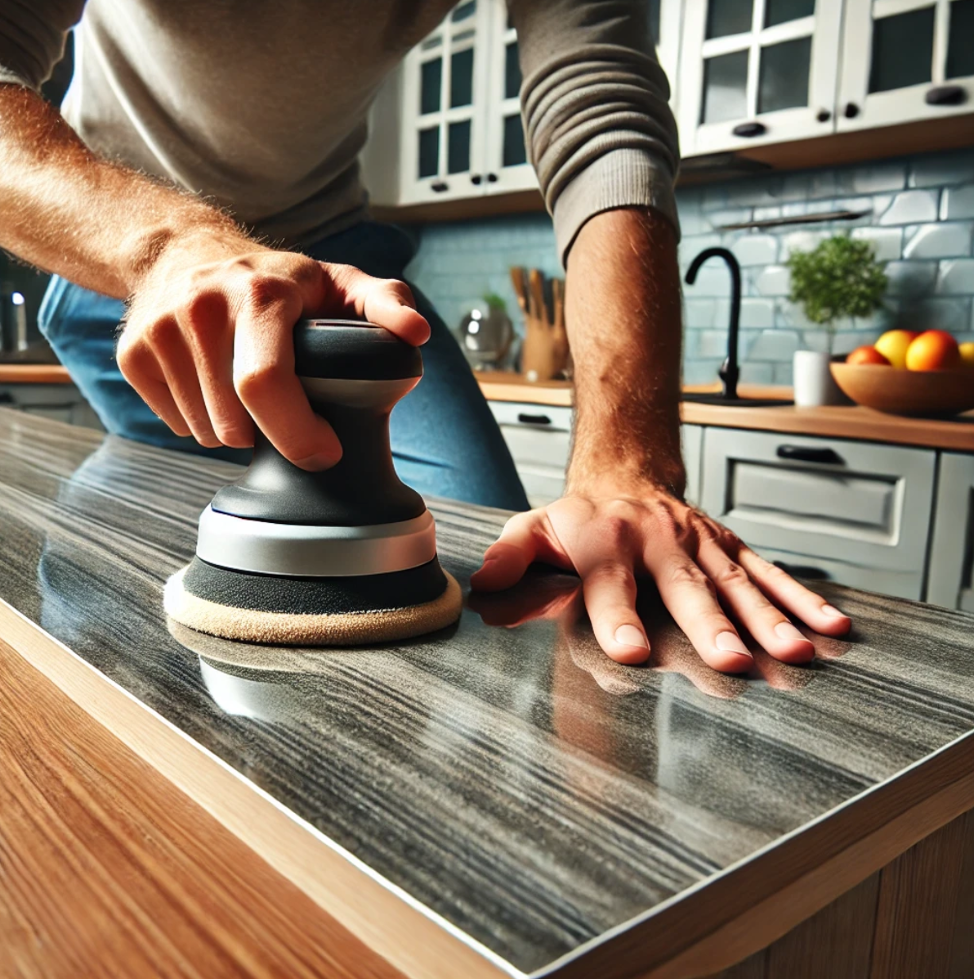
To help the primer and paint adhere to the laminate, lightly sand the surface with 120-grit sandpaper. The goal is to rough up the glossy finish, not to remove the laminate itself. Wipe down the dust with a damp cloth and let it dry.
Step 4: Apply Painter’s Tape
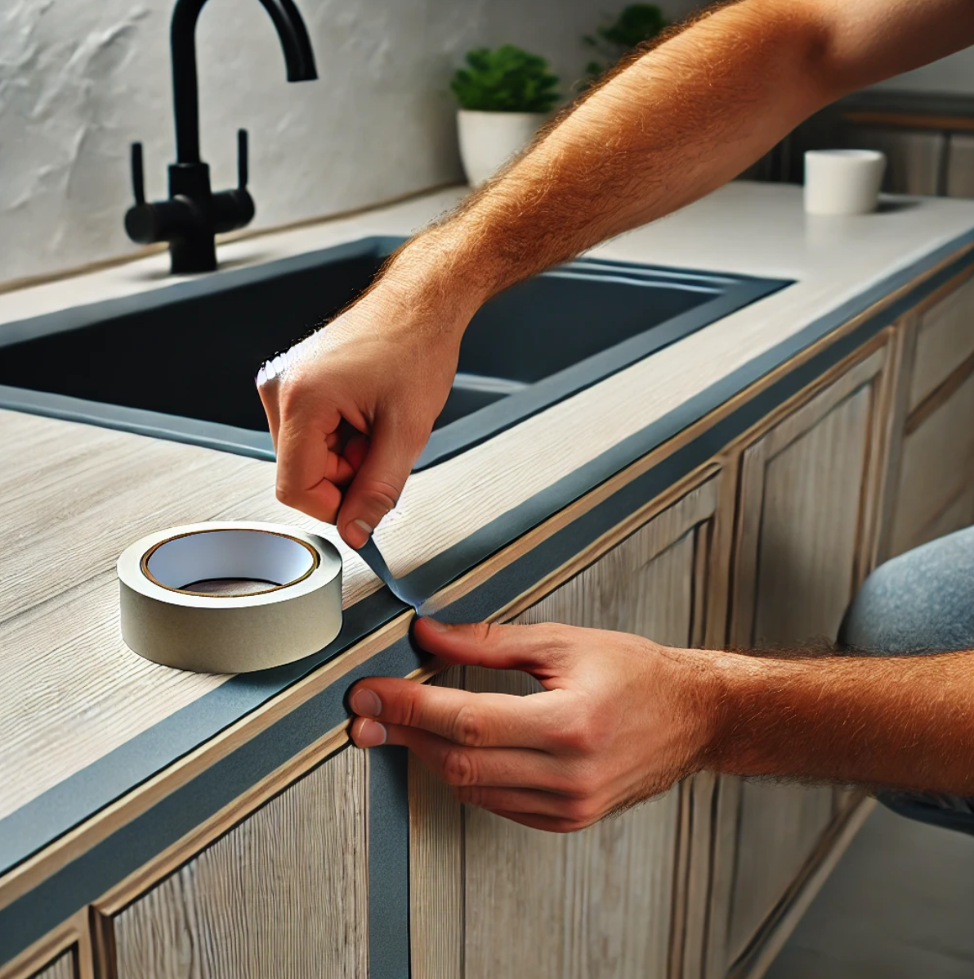
Use painter’s tape to protect areas that shouldn’t be painted, such as the sink, walls, and any adjacent cabinetry. Make sure the tape adheres well to avoid any paint seeping through the edges.
Step 5: Prime the Surface
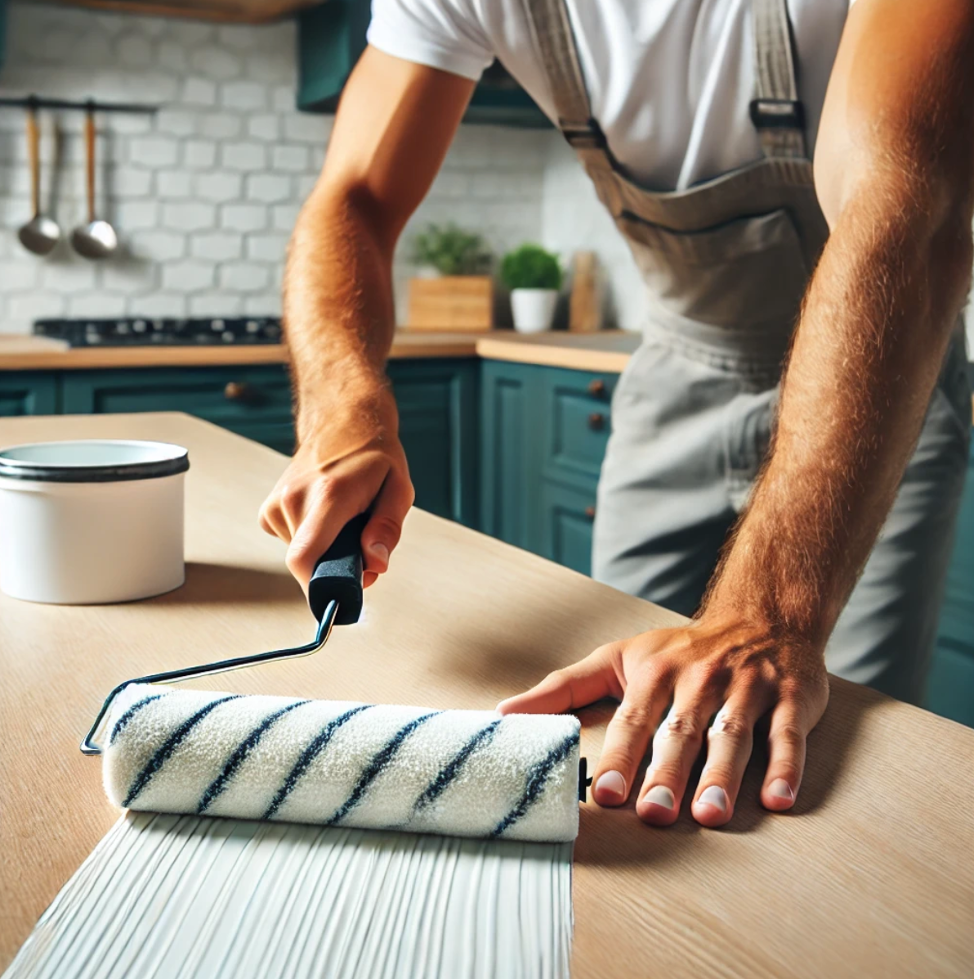
Apply a bonding primer specifically designed for slick surfaces like laminate. Use a foam roller for smooth application and a brush for edges or corners. Let the primer dry completely according to the manufacturer’s instructions, usually a few hours.
Step 6: Sand Again

Once the primer is dry, lightly sand the surface again using 220-grit sandpaper. This ensures that the paint will adhere well and creates a smooth surface for painting. Clean the dust with a damp cloth.
Step 7: Apply the Paint
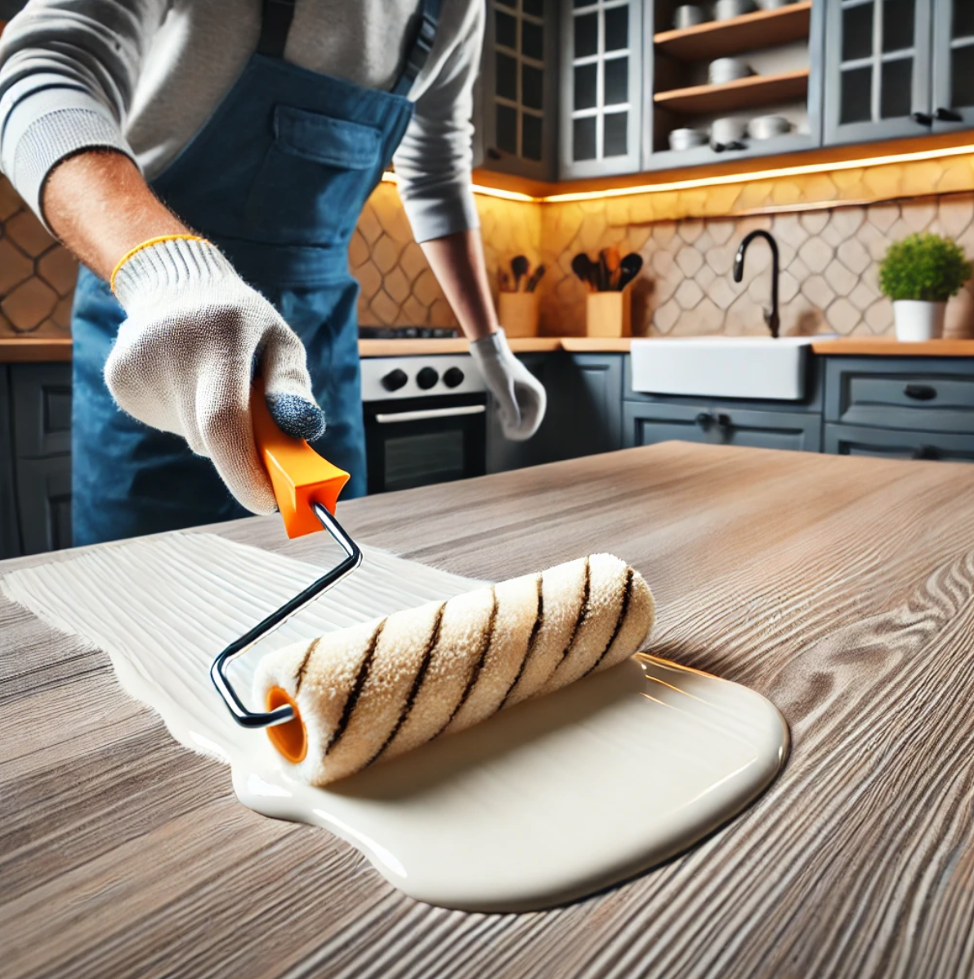
Choose a durable paint that can withstand daily wear and tear, such as epoxy or acrylic paint. Apply the paint with a foam roller for even coverage, and use a brush for the edges and details. You may need to apply two or three coats to achieve full coverage. Allow each coat to dry completely before applying the next one.
Step 8: Apply a Protective Finish
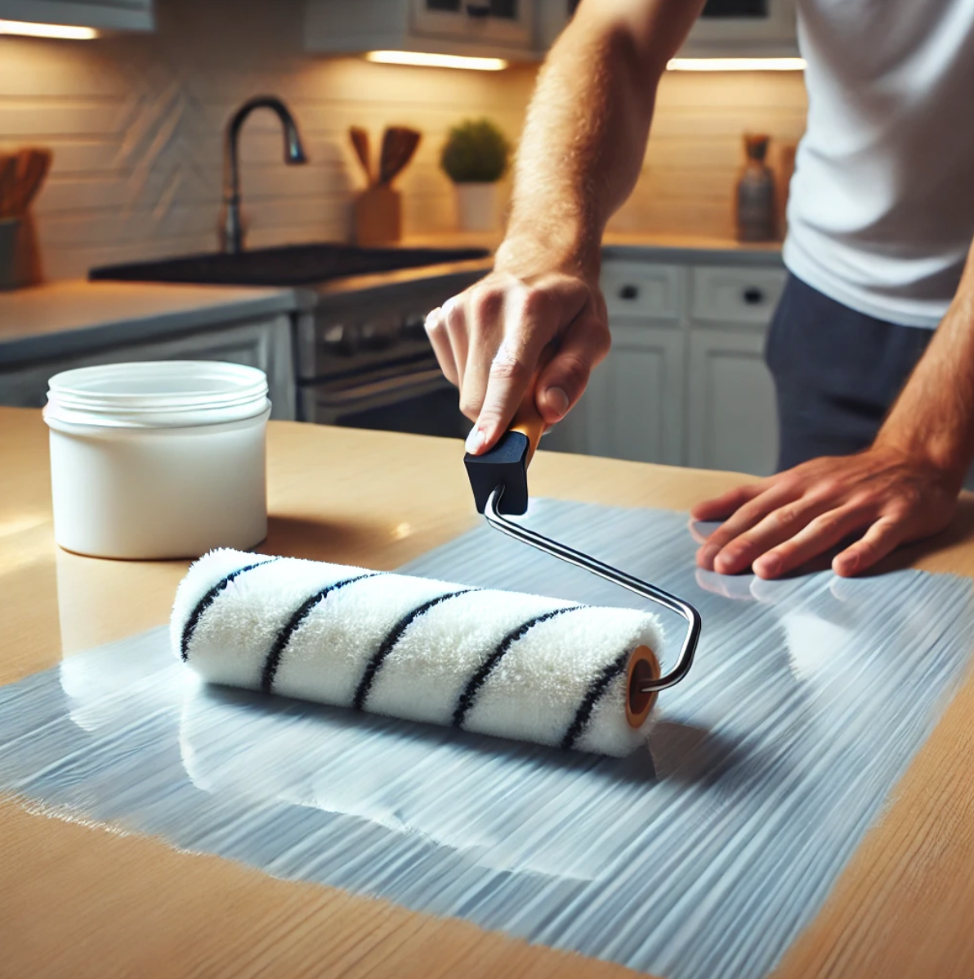
Once the paint is fully dry, seal the surface with a clear polyurethane or protective topcoat. This step is crucial for maintaining the durability of your newly painted laminate countertops. A topcoat protects the paint from scratches, spills, and heat.
Step 9: Let the Countertop Cure
Allow the countertop to cure fully before using it. While the surface might feel dry within a few hours, it often takes a few days for the paint and protective finish to fully harden. During this time, avoid placing heavy objects or dragging items across the countertop.
Conclusion
Painting laminate countertops is an affordable and efficient way to refresh the look of your kitchen or bathroom. With careful preparation and the right materials, you can achieve a long-lasting, professional finish. Follow this guide to get started and transform your space without the cost of replacement.

